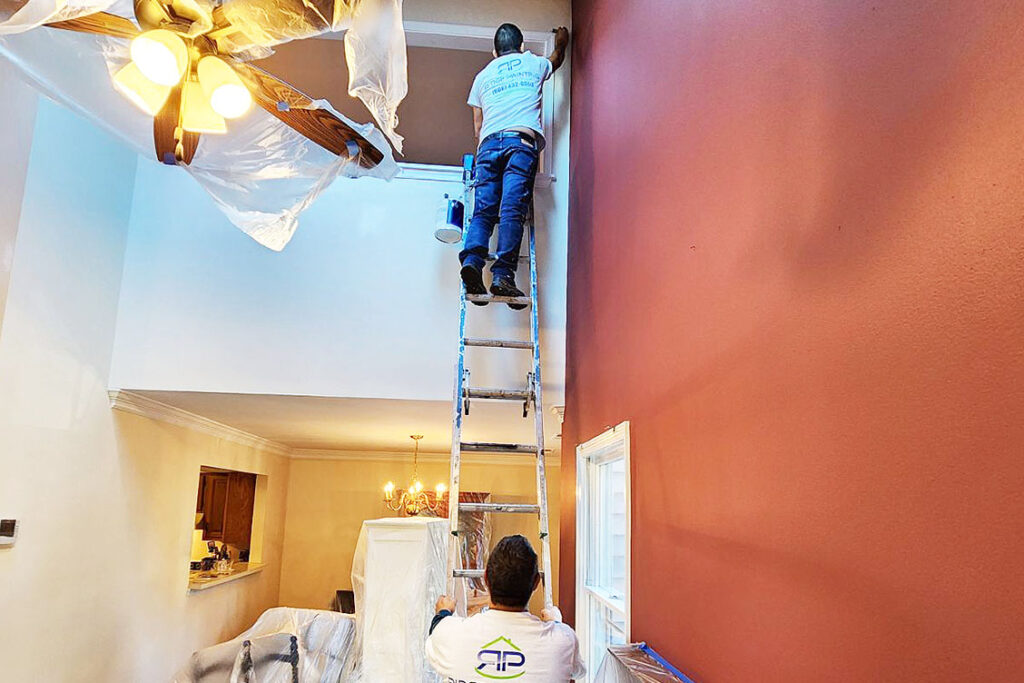
What Will Shape the Painting Industry in 2025
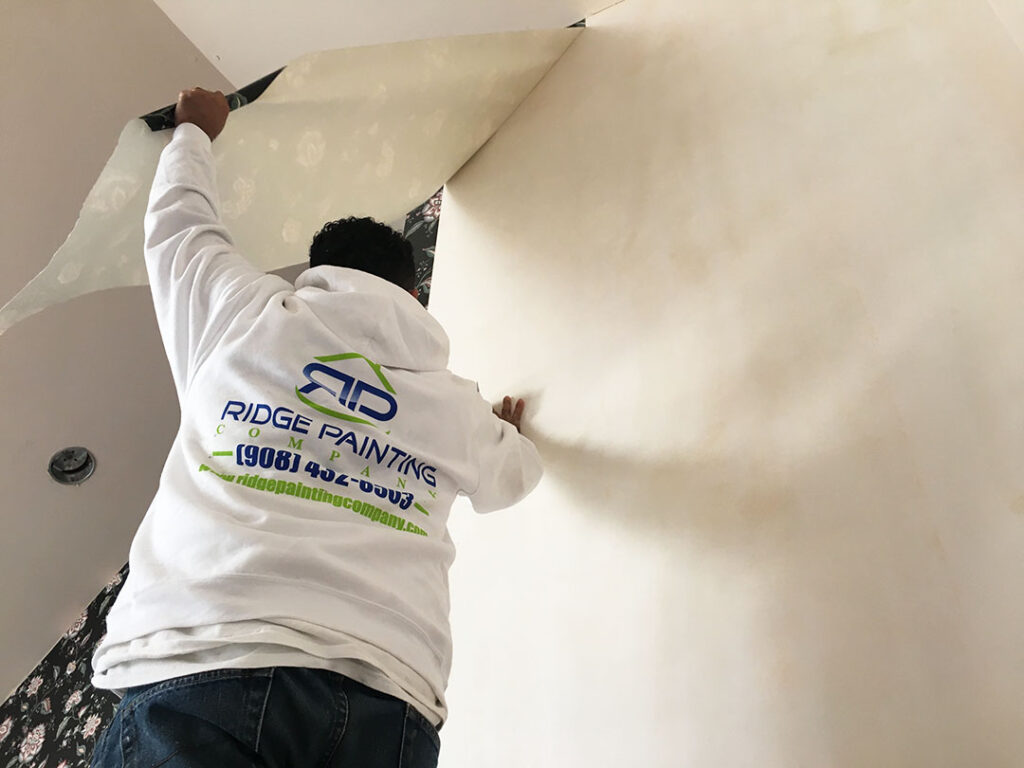
As we step into 2025, the painting industry is poised for a year of exciting developments. From innovative materials to evolving customer preferences, the landscape of painting is undergoing significant transformation. At Ridge Painting, we pride ourselves on staying ahead of these trends, ensuring that our clients benefit from the latest advancements and high-quality craftsmanship. Here’s a look at the key factors that will shape the painting industry in 2025.
Sustainability Takes Center Stage
One of the most prominent trends in 2025 is the growing demand for environmentally friendly solutions. Homeowners and businesses alike are prioritizing sustainability in their projects, and the painting industry is responding with eco-friendly materials and practices. Low-VOC (volatile organic compounds) and zero-VOC paints are becoming the standard, reducing harmful emissions and creating healthier indoor air quality.
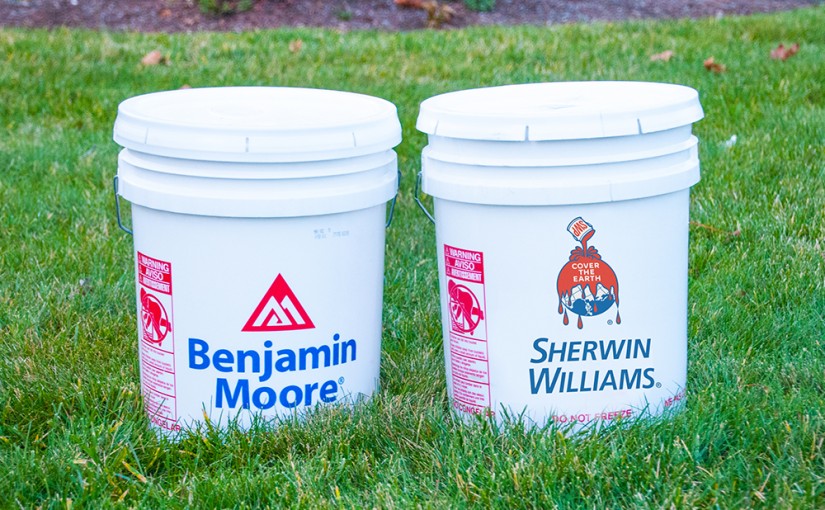
Additionally, paint manufacturers are introducing products made with renewable and recycled materials. For example, companies like Sherwin-Williams and Benjamin Moore offer eco-friendly lines that meet stringent environmental standards. Ridge Painting’s commitment to using sustainable products ensures our clients can make choices that are both beautiful and environmentally conscious.
Technological Innovations in Paints and Tools
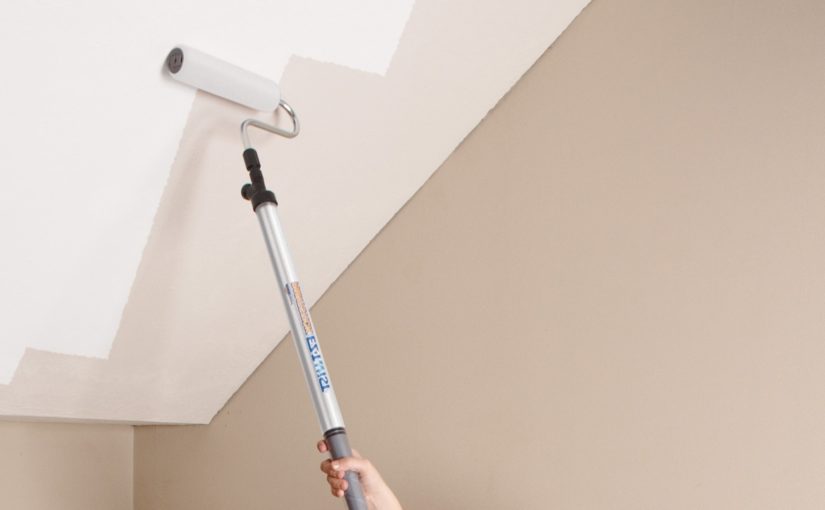
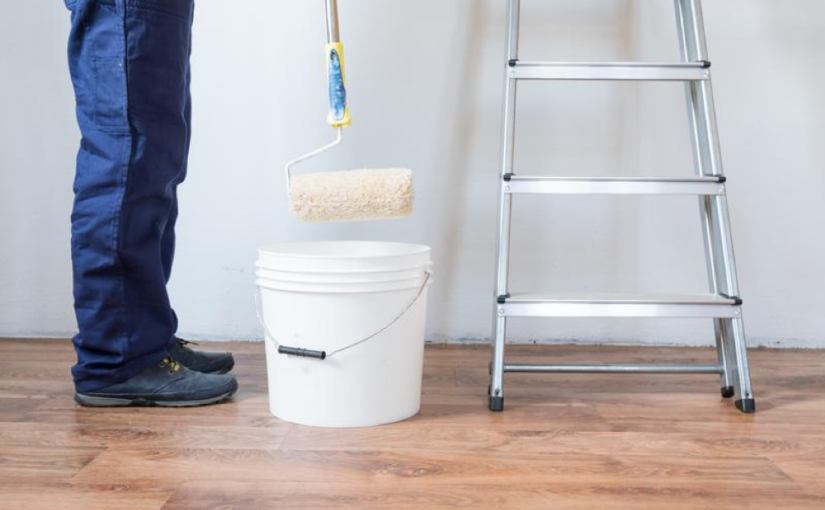
Technology is revolutionizing the painting industry, making it easier than ever to achieve professional results. Smart paints that offer additional functionalities, such as anti-microbial properties and temperature regulation, are gaining popularity. These paints not only enhance the aesthetic appeal of a space but also contribute to the overall health and comfort of its occupants.
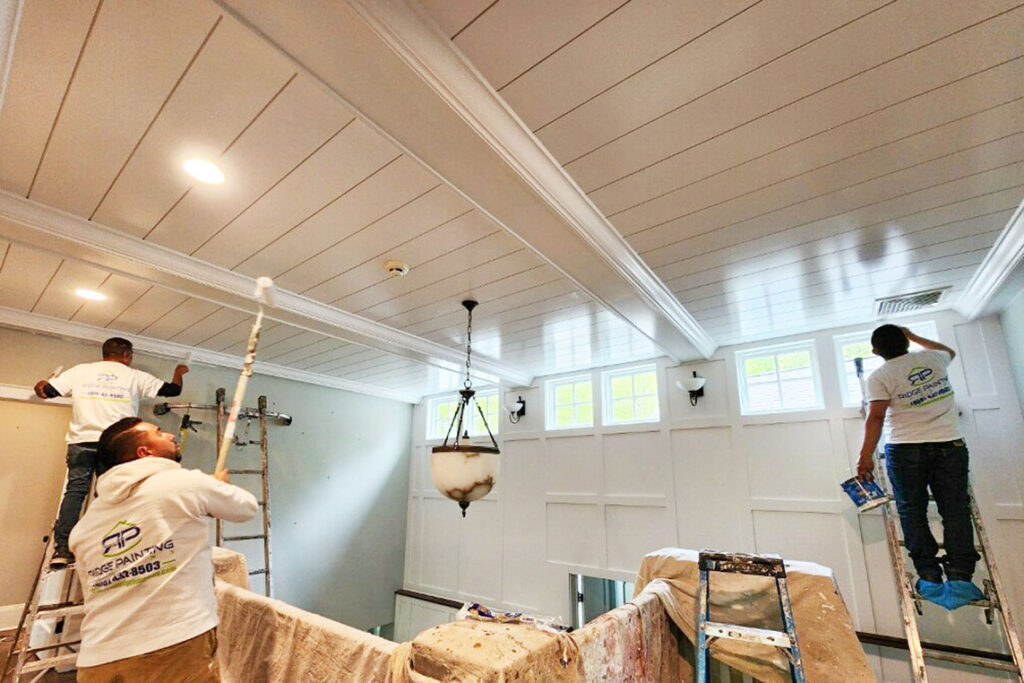
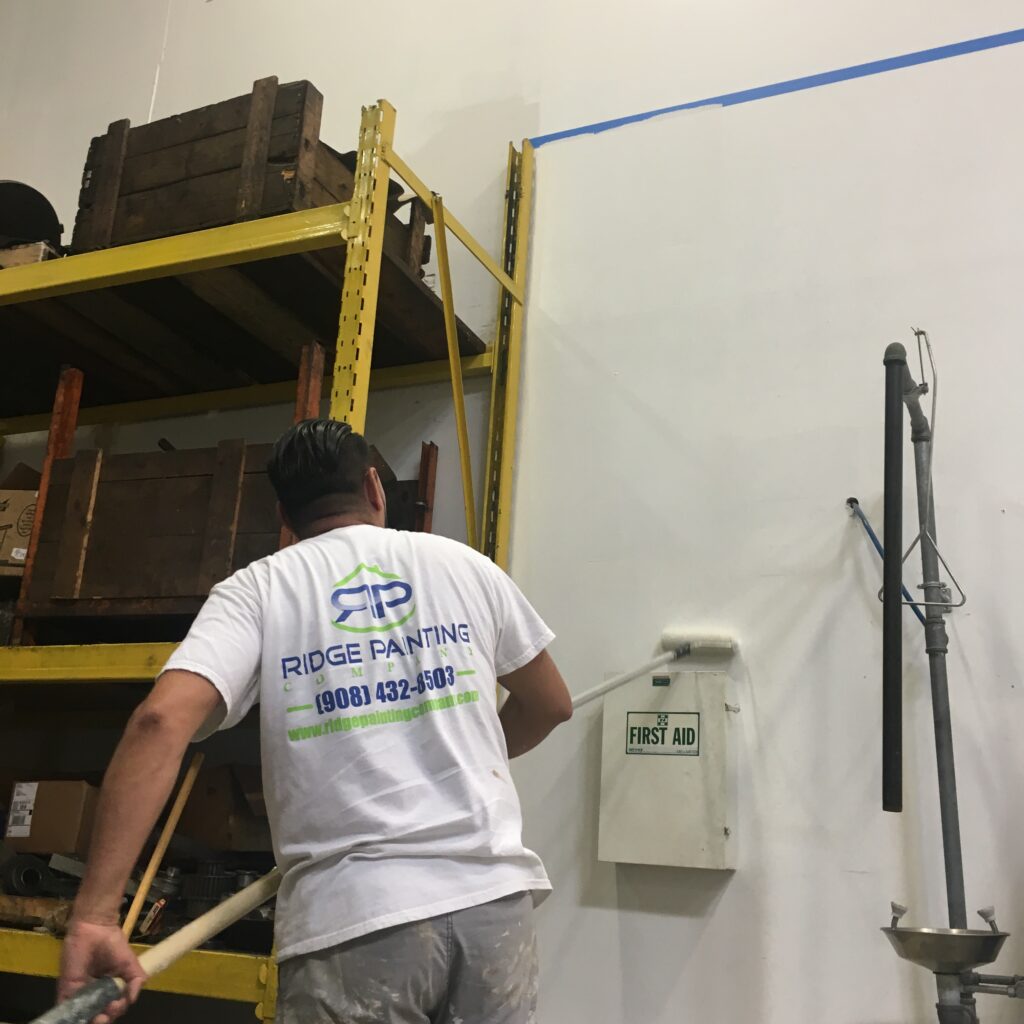
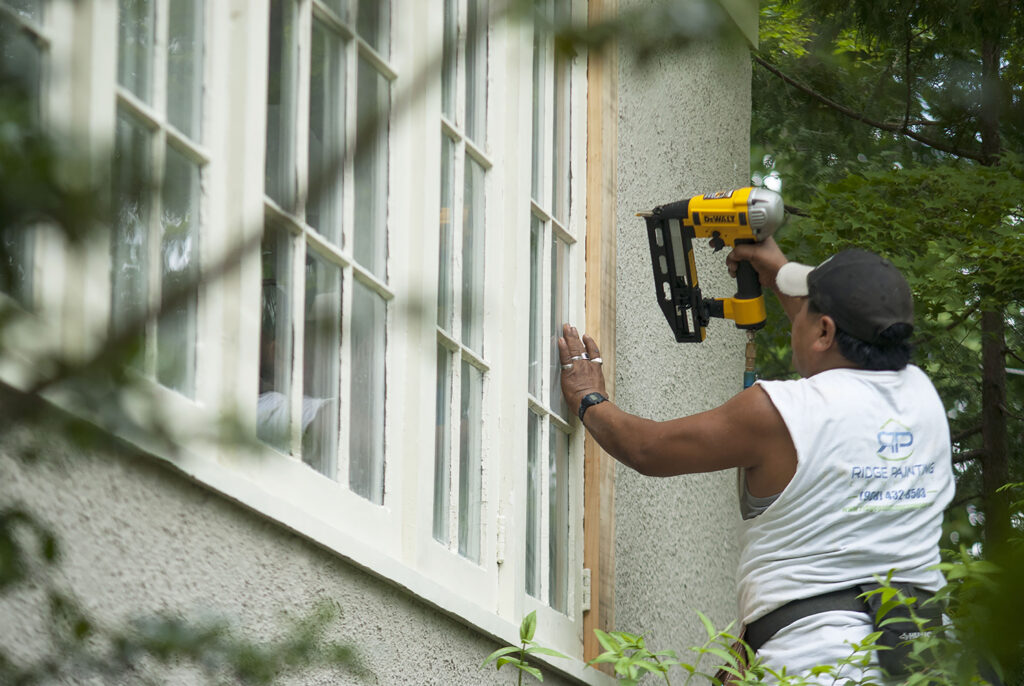
In addition to advanced paints, innovative tools are streamlining the painting process. Automated sprayers, high-tech rollers, and digital color-matching apps allow painters to work more efficiently while achieving precise results. At Ridge Painting, we continually invest in the latest tools to ensure that every project is completed to the highest standard.
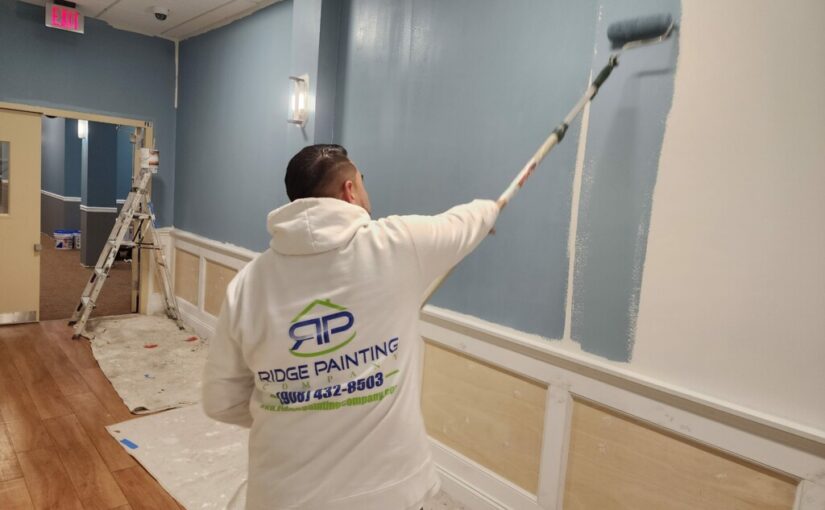
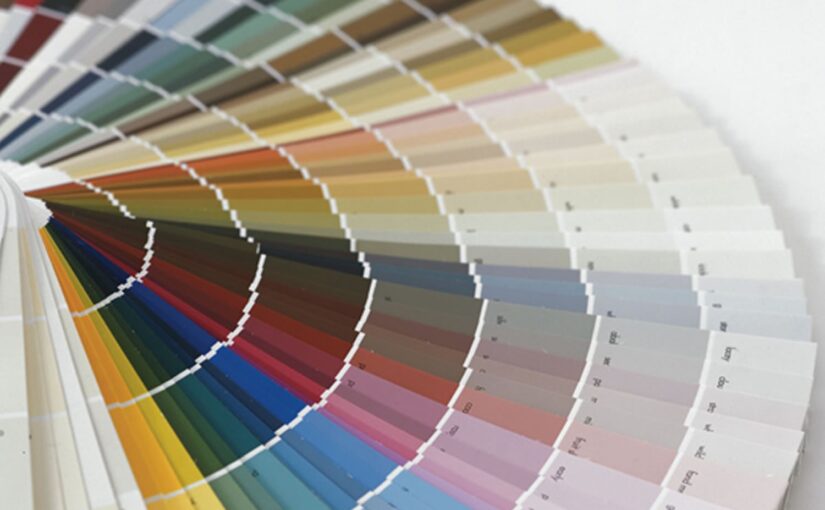
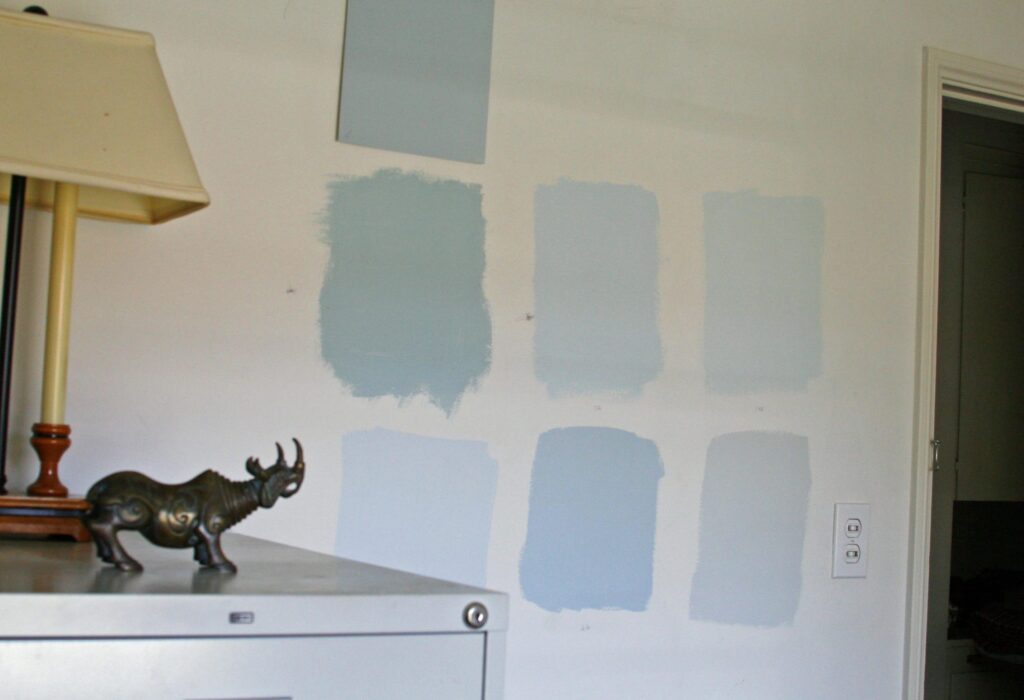
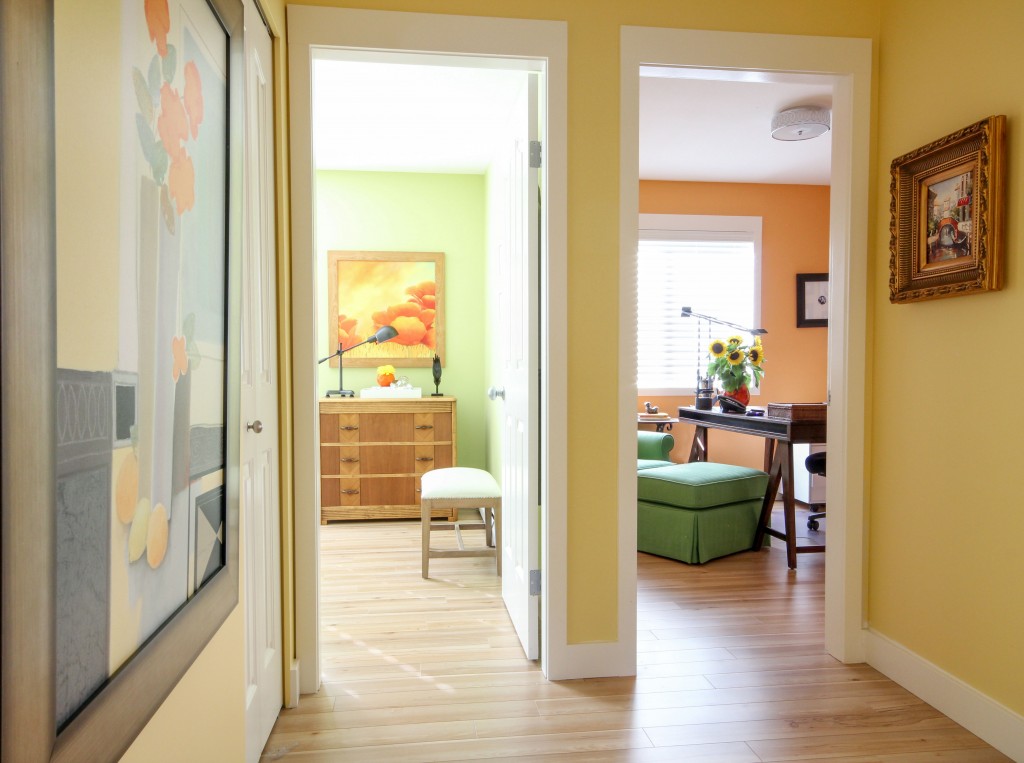
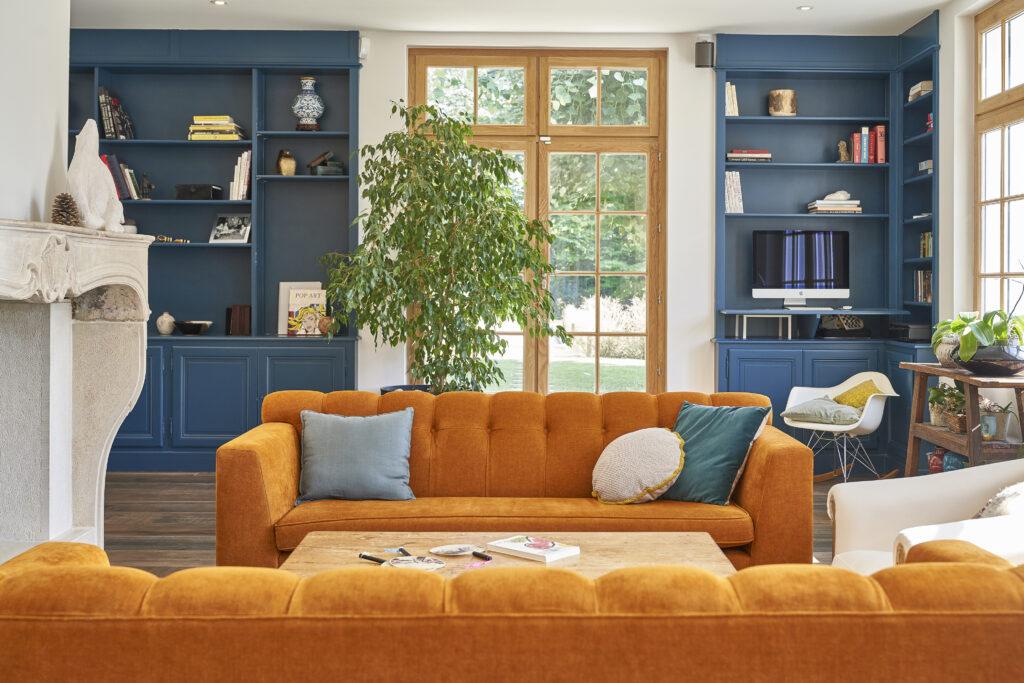
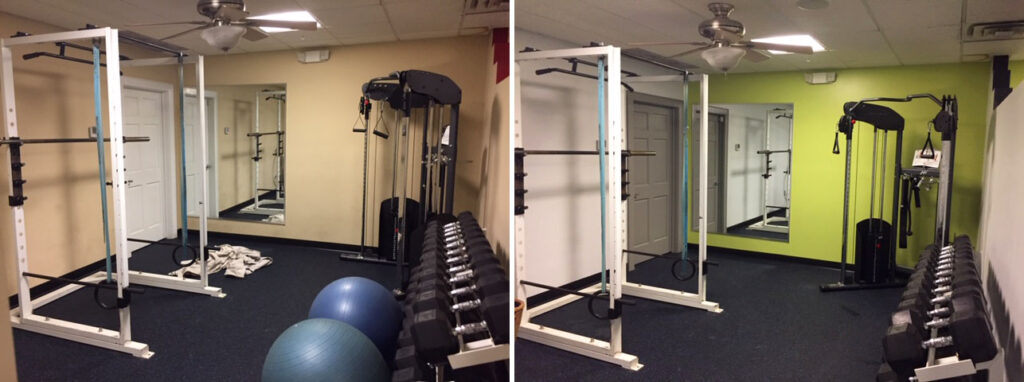
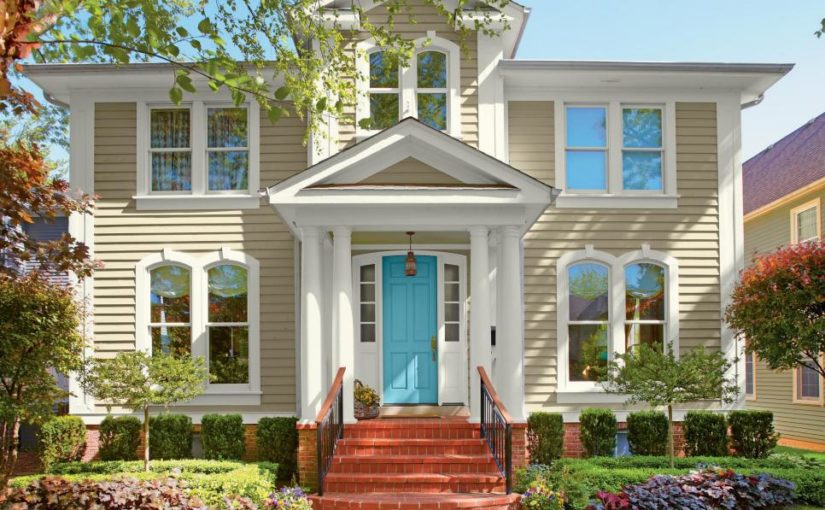
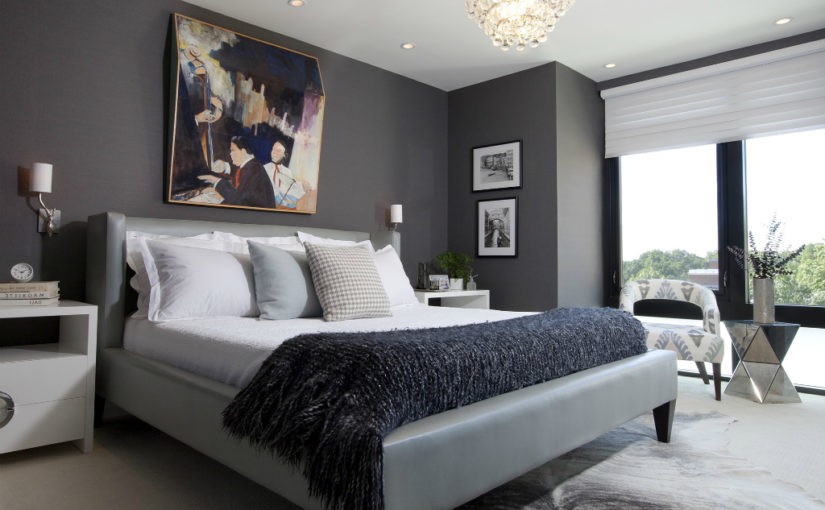
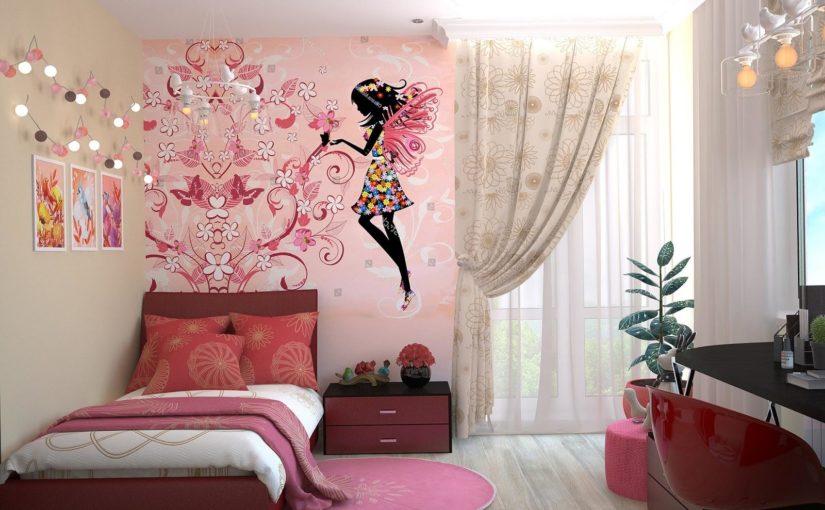
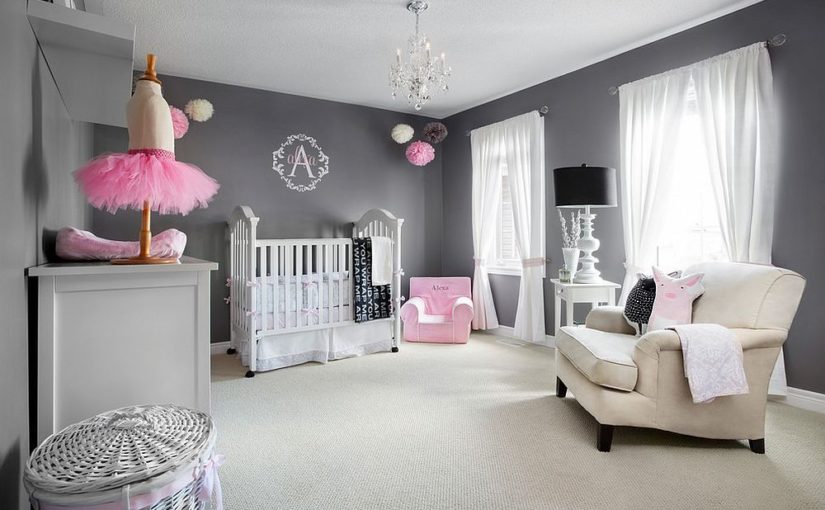
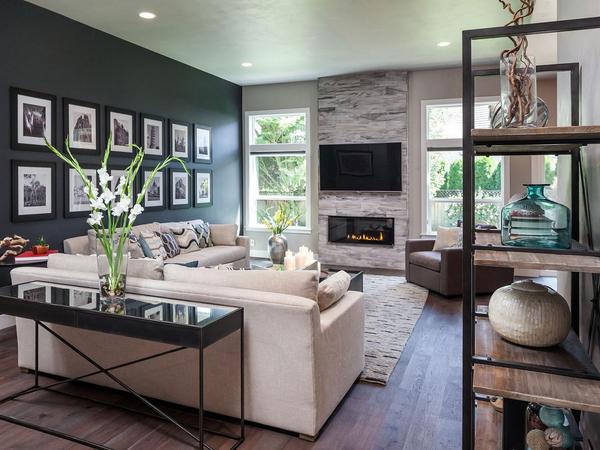
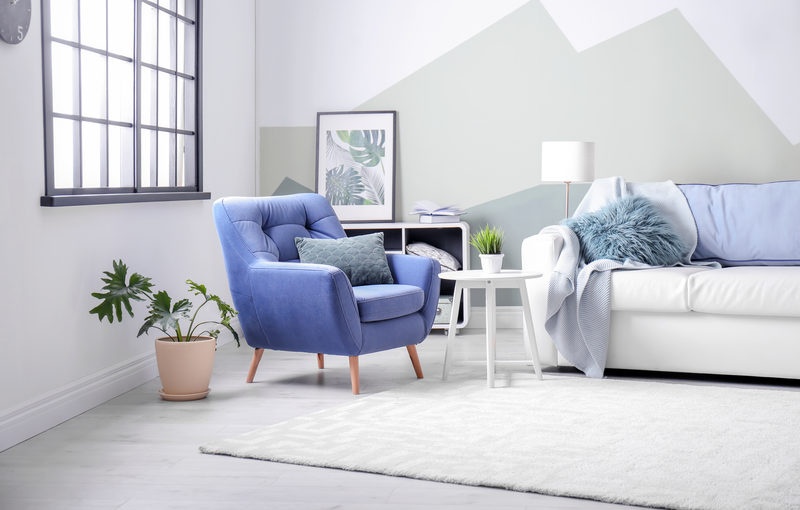
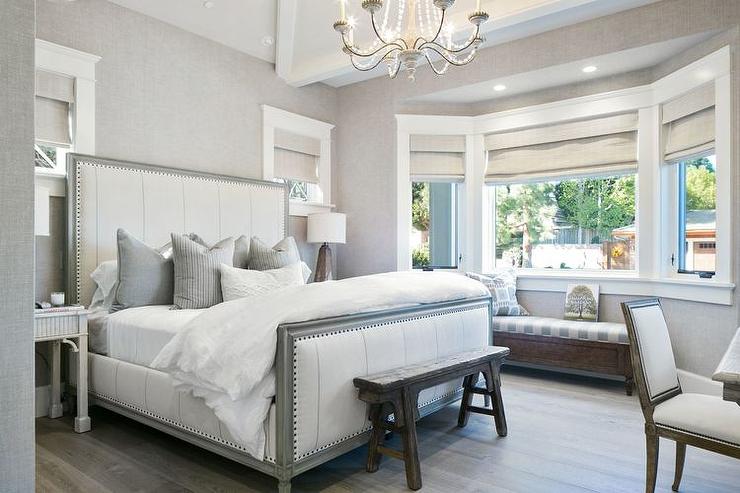
Bold and Personalized Color Choices

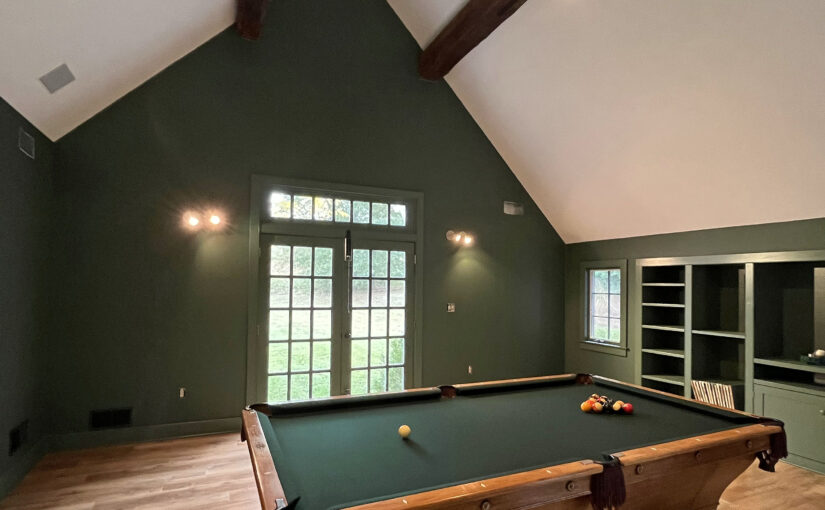
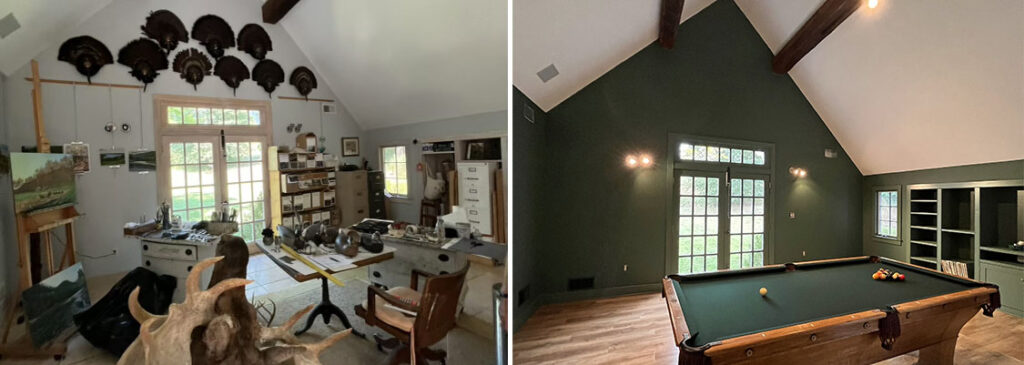
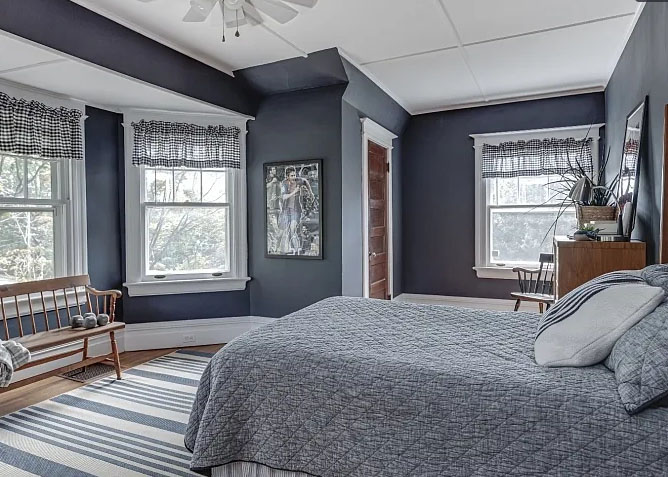
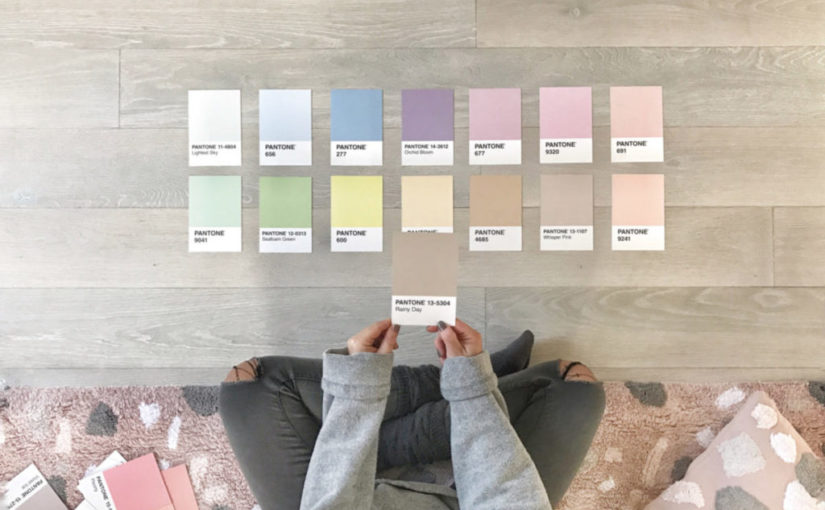
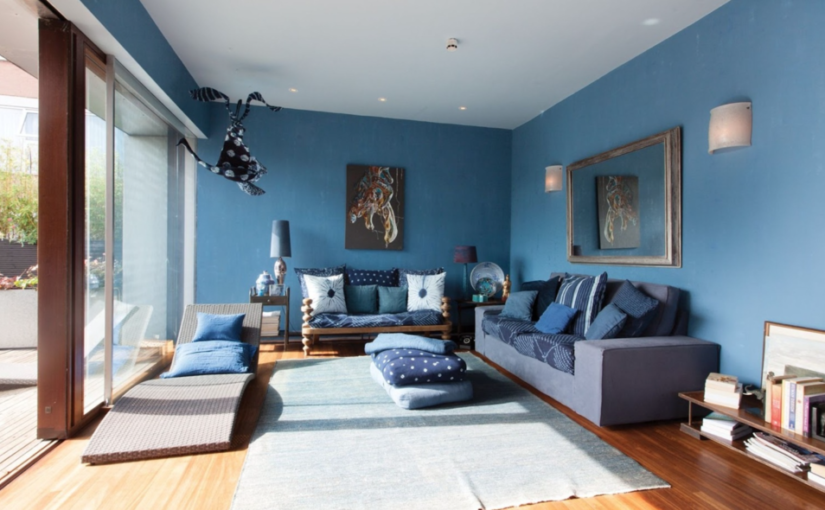
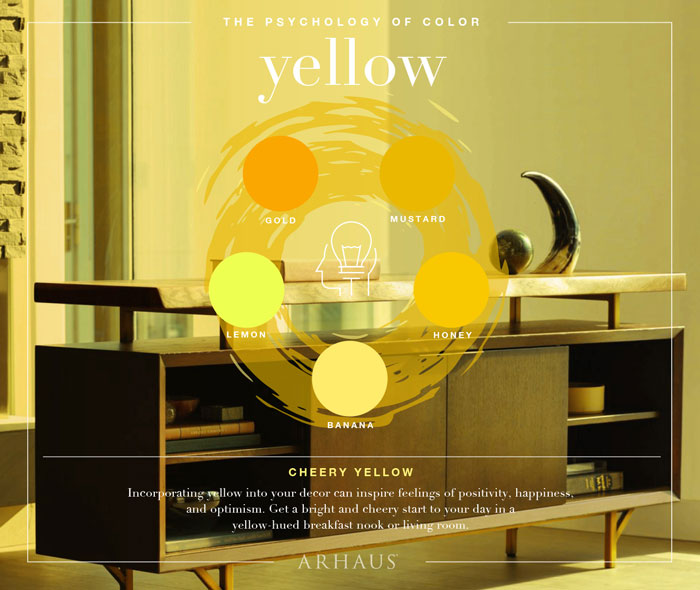
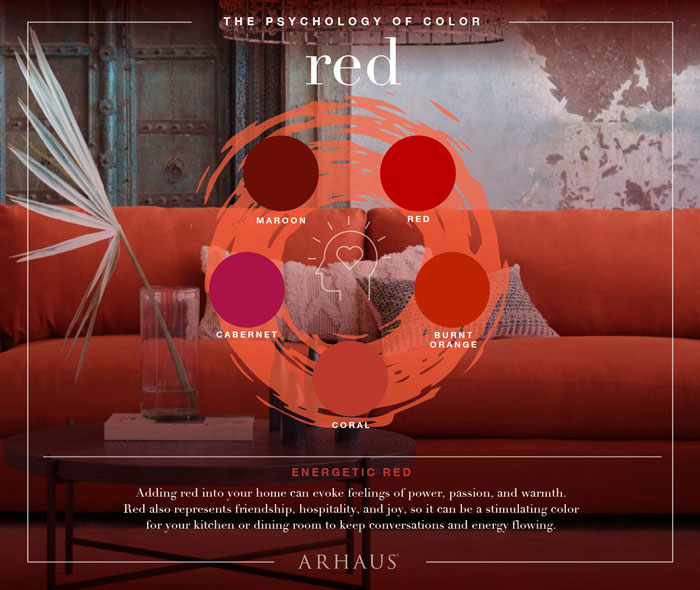
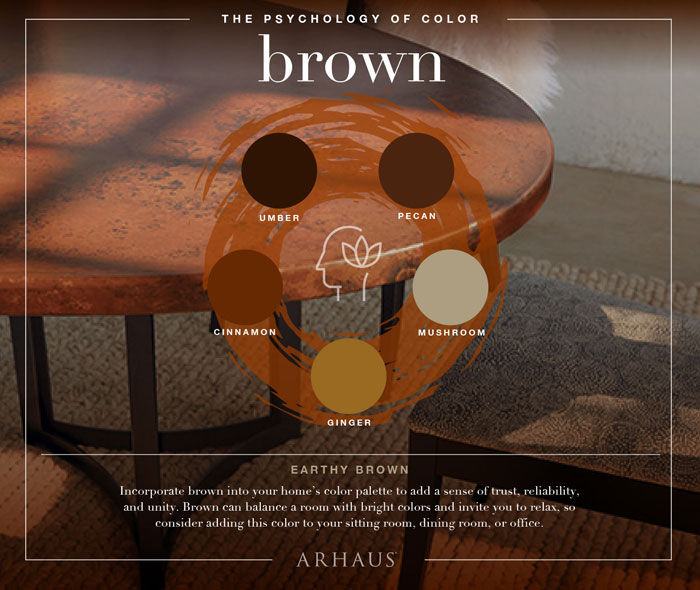
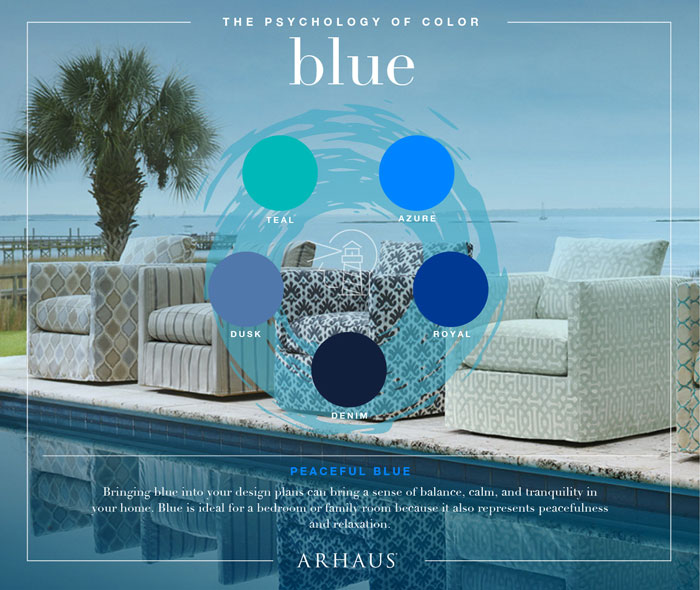
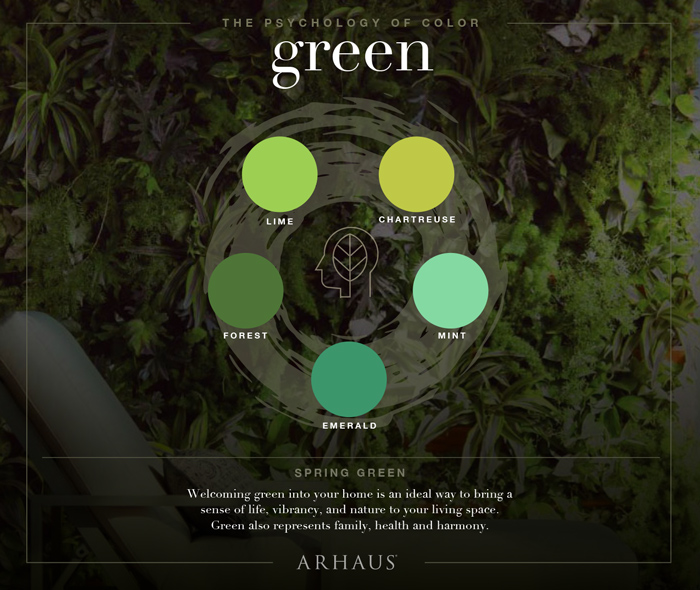
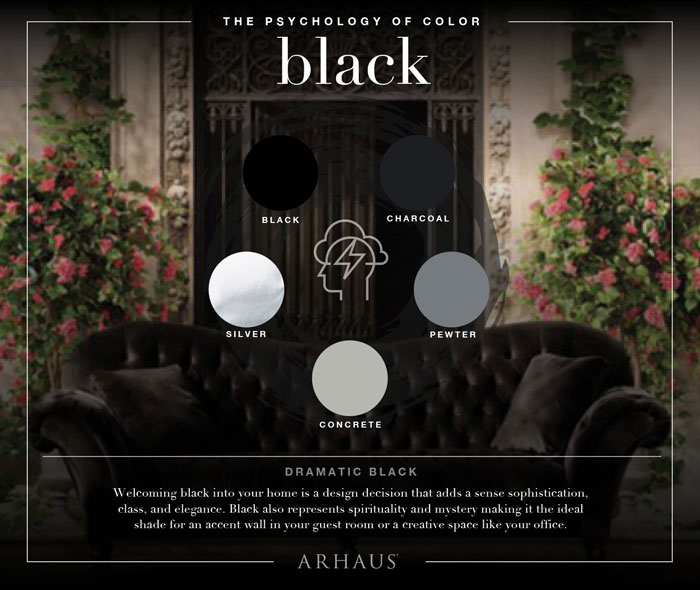
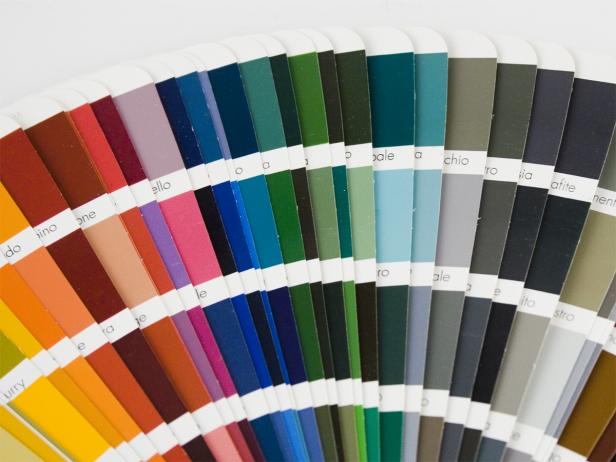
In 2025, customer preferences are shifting toward bold and personalized color palettes. While timeless neutrals remain popular, many homeowners are exploring more expressive options to reflect their individuality. Jewel tones like emerald green, deep blue, and rich burgundy are making a strong comeback, while pastel shades with subtle undertones offer a fresh twist on traditional colors.
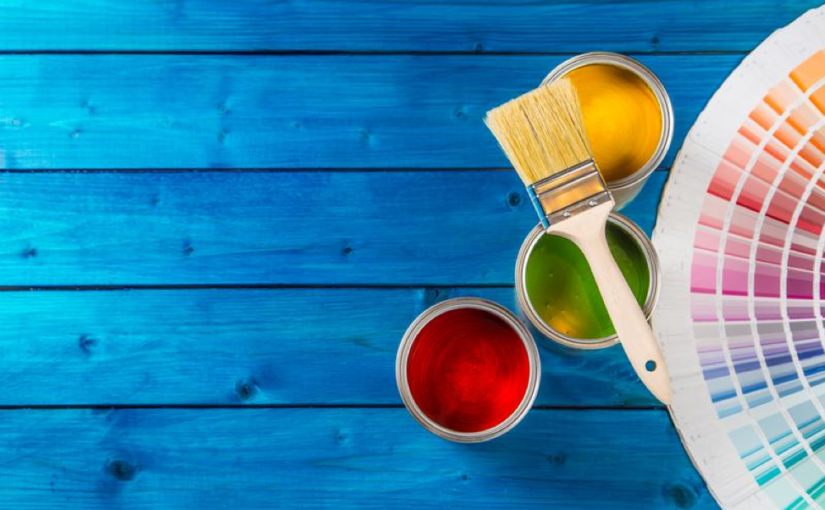
Paint companies are also launching interactive tools to help customers visualize their spaces with different colors. Tools like Sherwin-Williams’ ColorSnap and Benjamin Moore’s Color Portfolio App make it easier than ever to experiment with different shades and finishes. Ridge Painting’s team of experts is here to guide clients through the process of selecting the perfect color palette for their space.
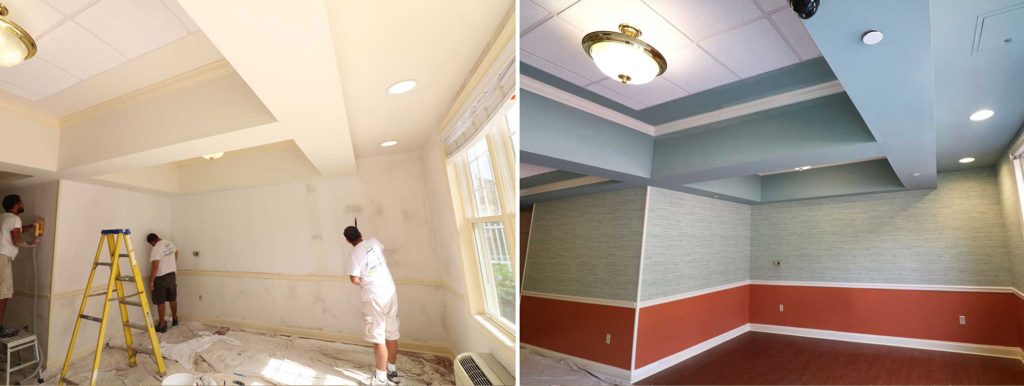
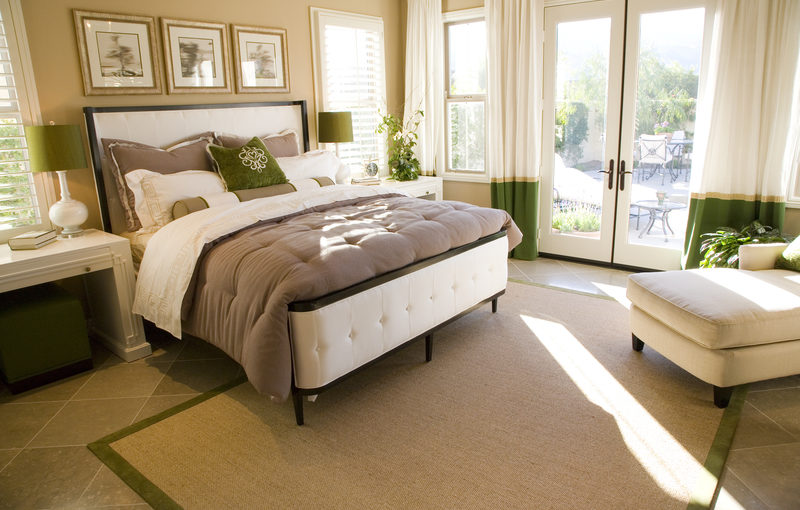
Rise of Specialized Paint Finishes
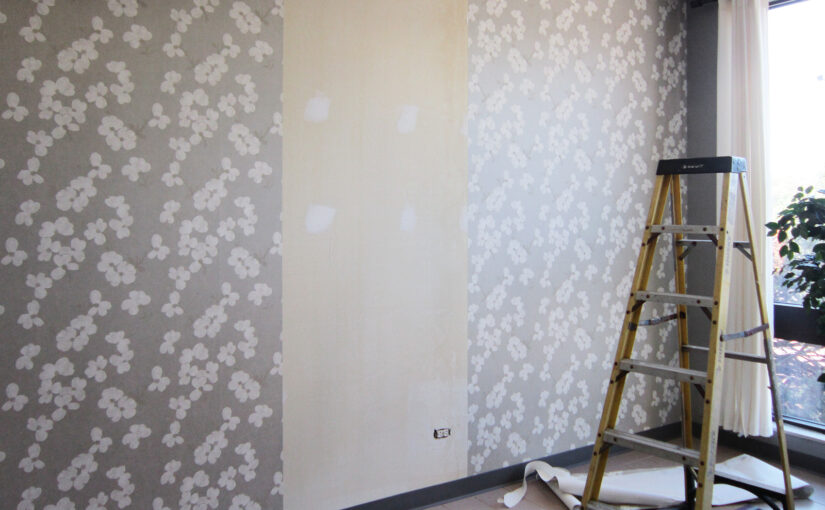
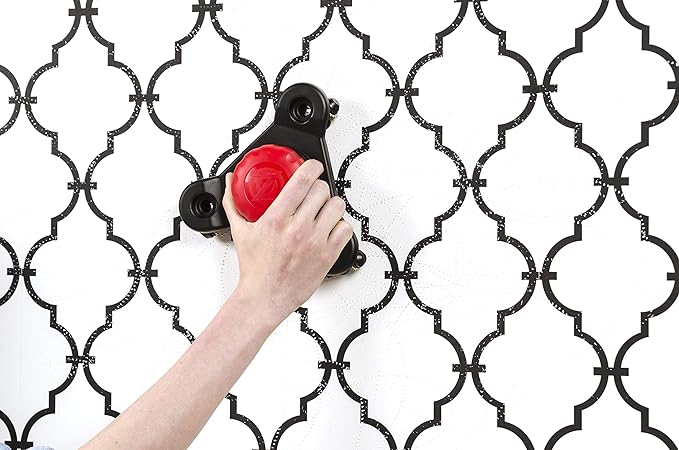
Another trend shaping the industry in 2025 is the rise of specialized paint finishes. From matte and satin to high-gloss and metallic, finishes are becoming an essential part of a project’s overall design. Textured finishes, such as Venetian plaster and limewash, are also gaining traction, adding depth and character to walls.
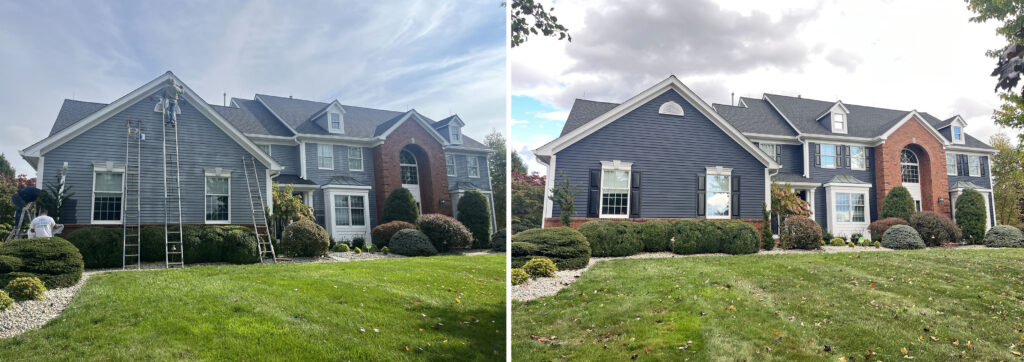
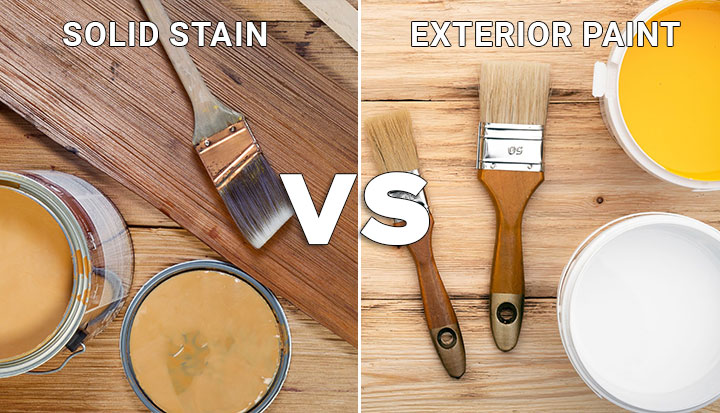
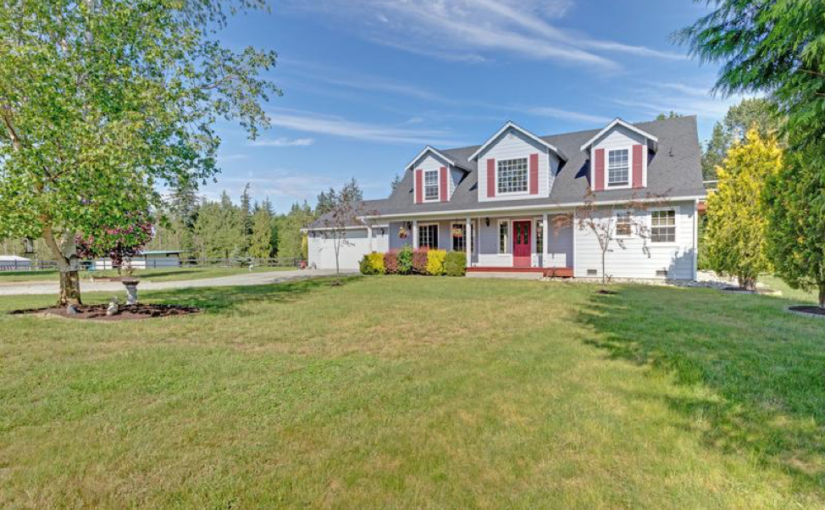
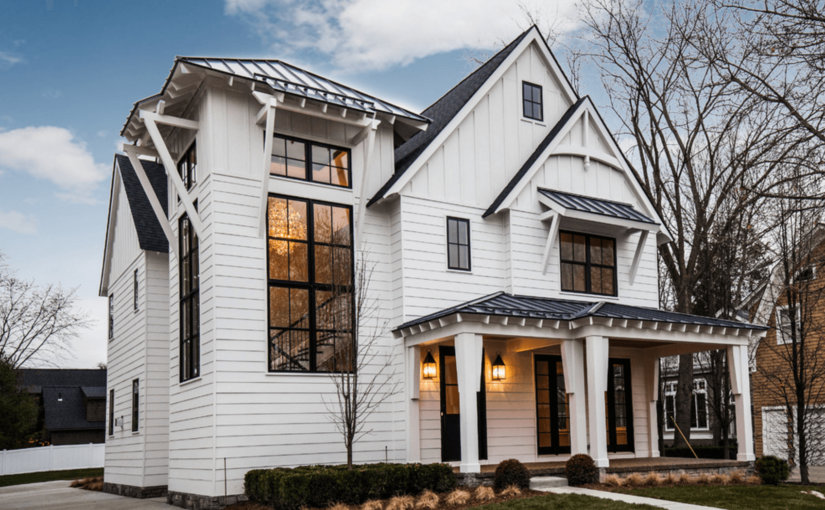
These finishes are not limited to interiors. Exterior projects are embracing advanced finishes that offer durability and weather resistance while maintaining a stylish appearance. For example, elastomeric coatings are becoming increasingly popular for their ability to protect surfaces from cracks and moisture. Ridge Painting offers a wide range of finishes tailored to meet the unique needs of each project.
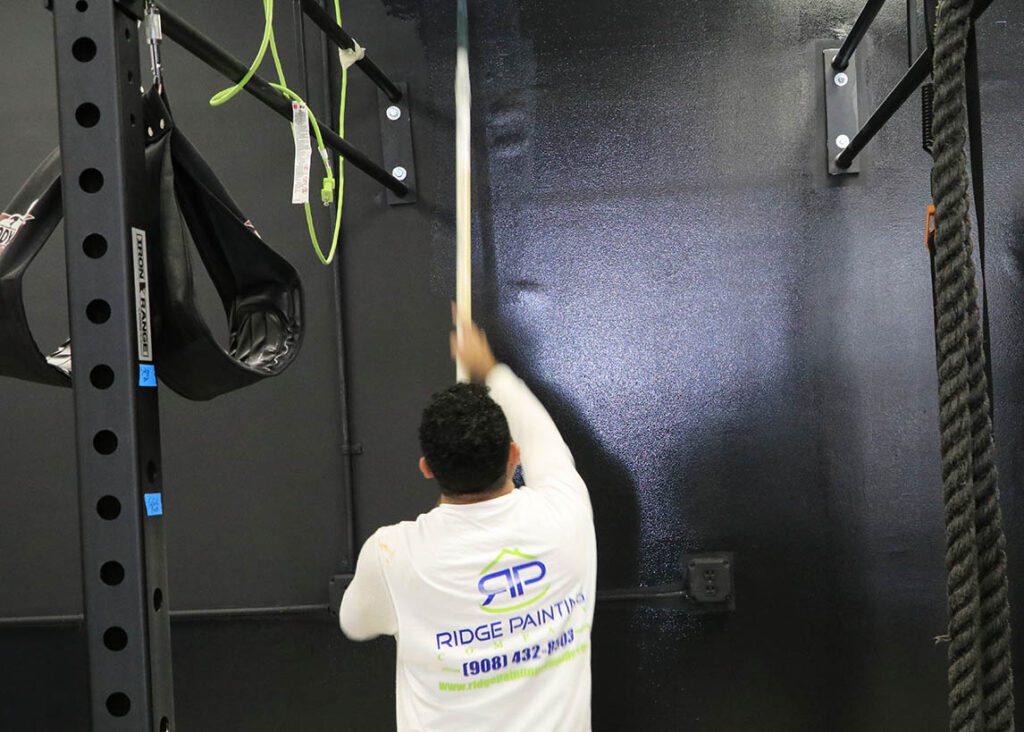
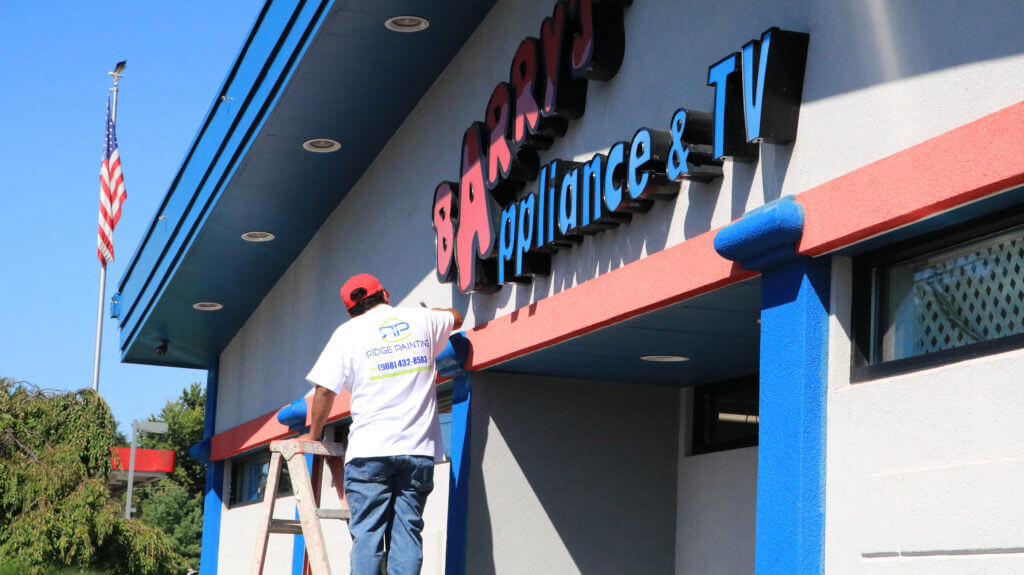
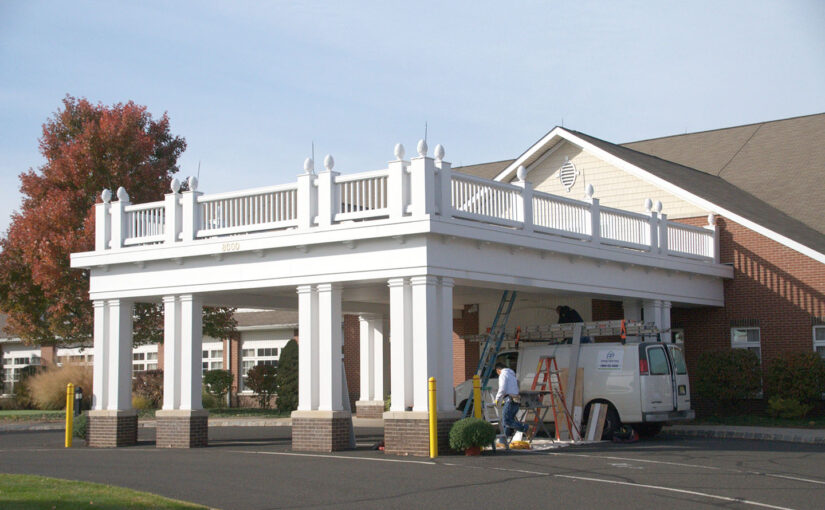
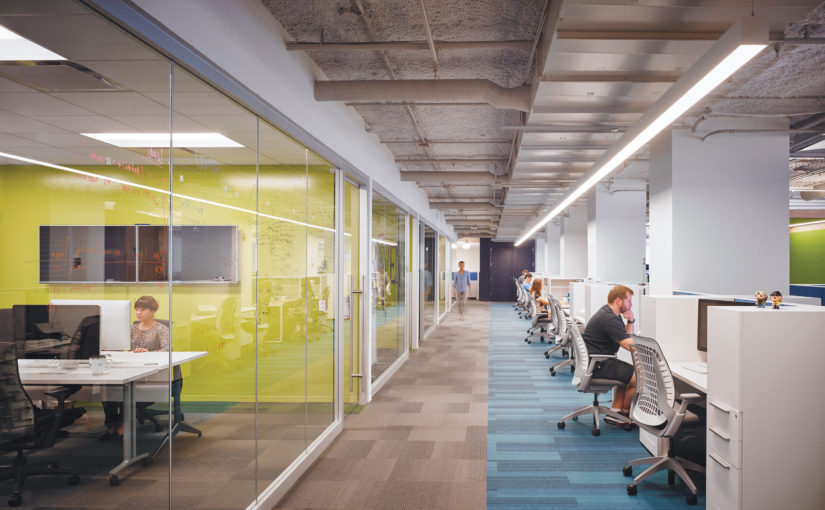
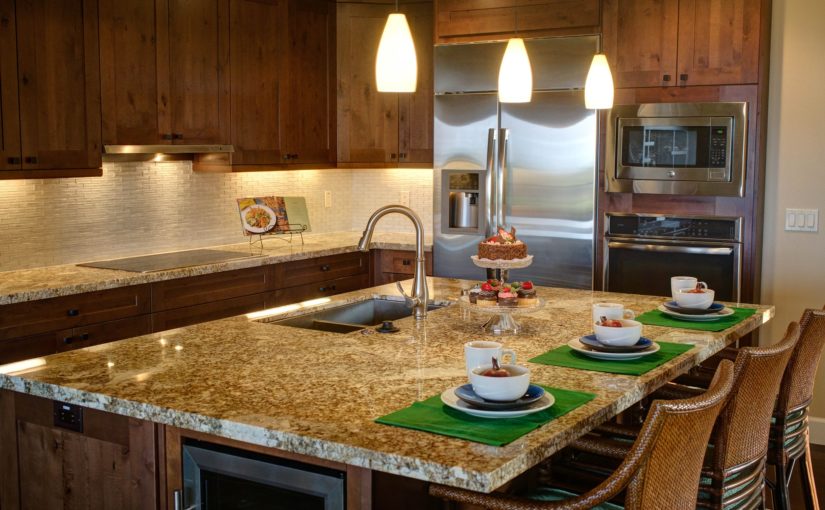
Increased Demand for Commercial and Industrial Painting

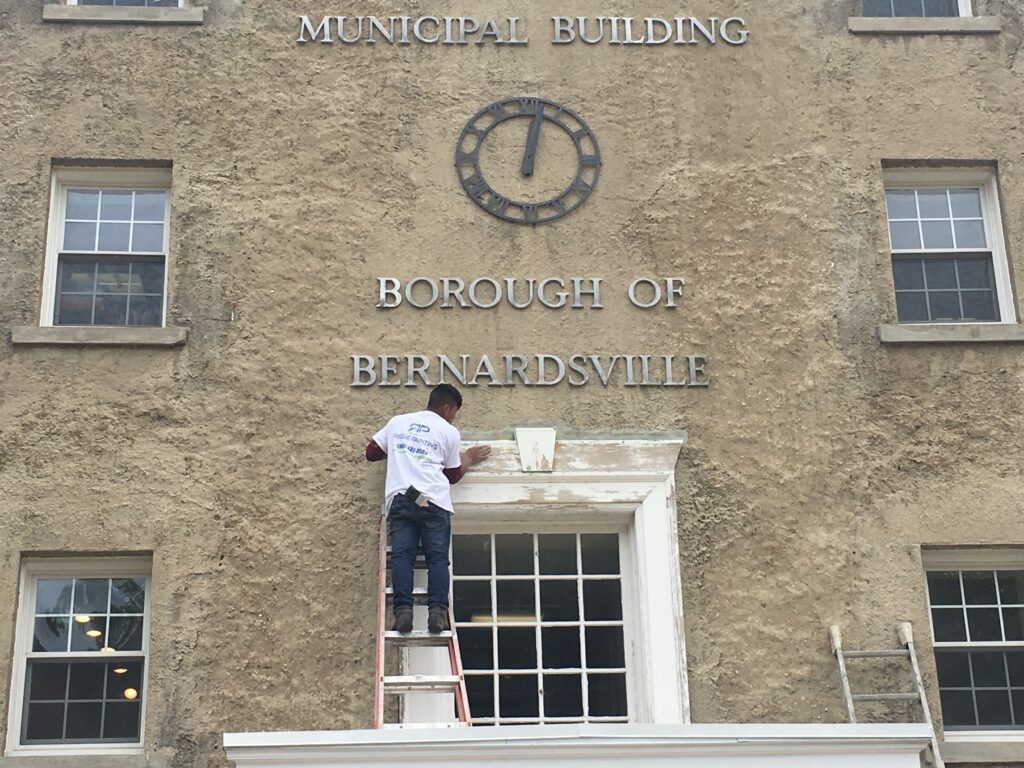
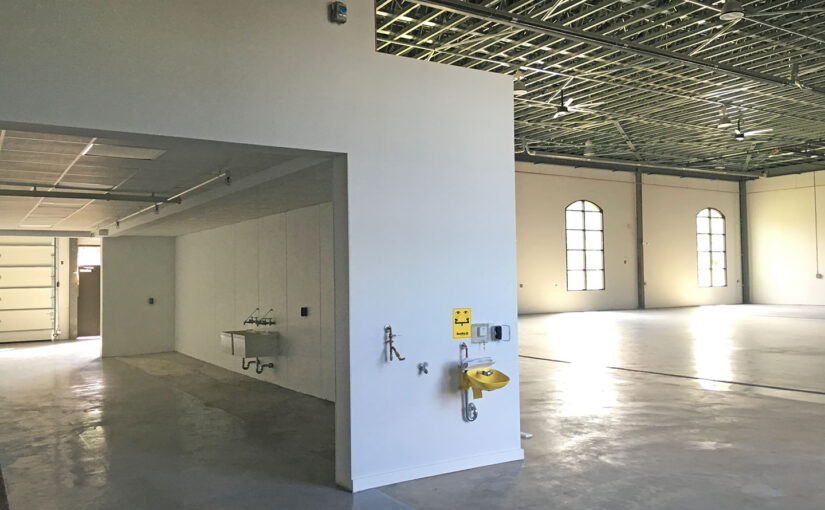
As businesses continue to prioritize aesthetics and functionality, the demand for commercial and industrial painting services is on the rise. In 2025, companies are focusing on creating inviting and professional spaces for employees and customers. This includes choosing colors that align with their brand identity and implementing coatings that enhance durability and maintenance.
Industrial settings are also leveraging innovative solutions, such as epoxy coatings and anti-corrosion paints, to protect their facilities and equipment. Ridge Painting has extensive experience working with commercial and industrial clients, delivering results that combine style and practicality.
Focus on Customization and Customer Experience
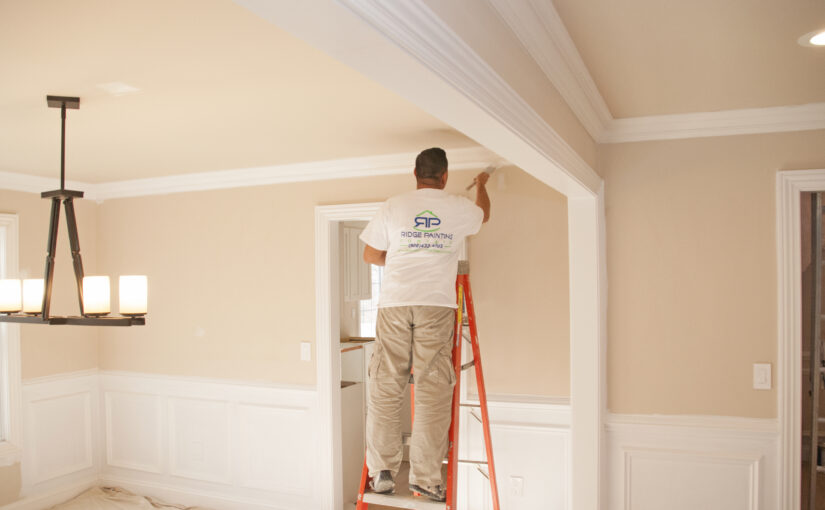
In 2025, customization and personalized service are becoming more important than ever. Customers want their spaces to reflect their unique style and needs, and they expect painting professionals to deliver tailored solutions. Ridge Painting’s client-first approach ensures that every project is designed and executed with precision, keeping the client’s vision at the forefront.
Digital tools are also enhancing the customer experience. Virtual consultations, project management apps, and detailed timelines provide clients with transparency and convenience throughout the painting process. At Ridge Painting, we leverage technology to keep our clients informed and involved every step of the way.
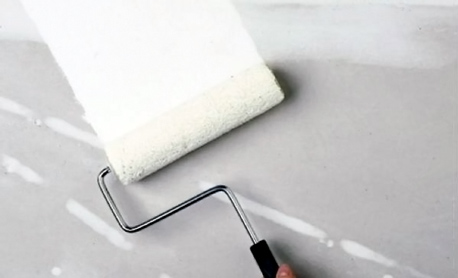
Emphasis on Long-Term Value
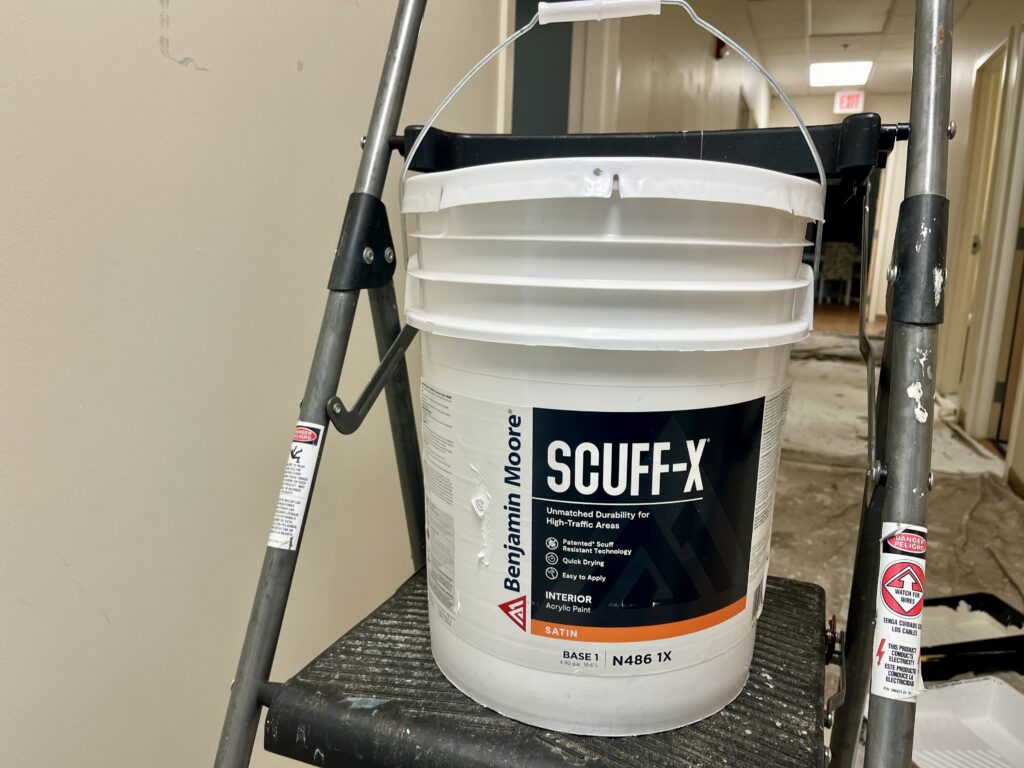
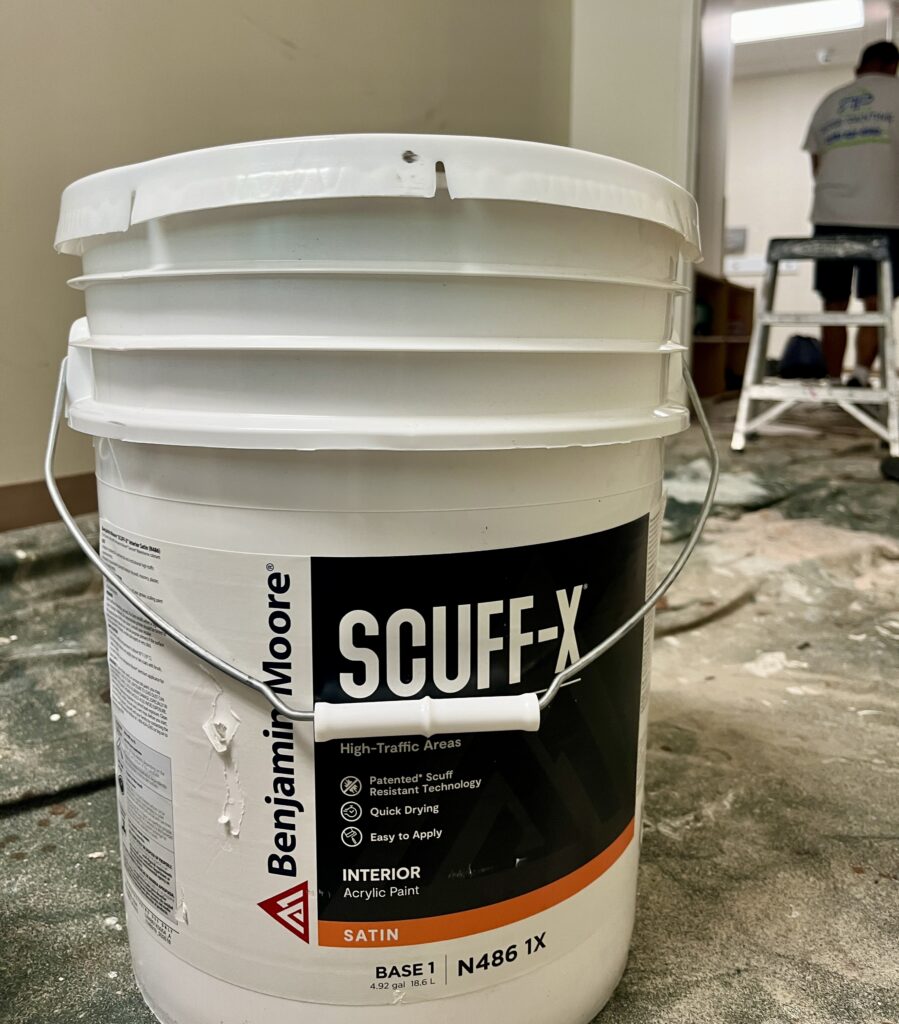
Homeowners and businesses are increasingly viewing painting as an investment rather than a simple aesthetic upgrade. In 2025, the focus is on achieving long-term value through high-quality materials and expert craftsmanship. Durable paints, advanced finishes, and proper surface preparation ensure that painted surfaces stand the test of time.
Ridge Painting’s commitment to excellence means that our clients enjoy results that look great and last for years. From meticulous prep work to using premium materials, we take pride in delivering value that exceeds expectations.
The Role of AI and Data Analytics
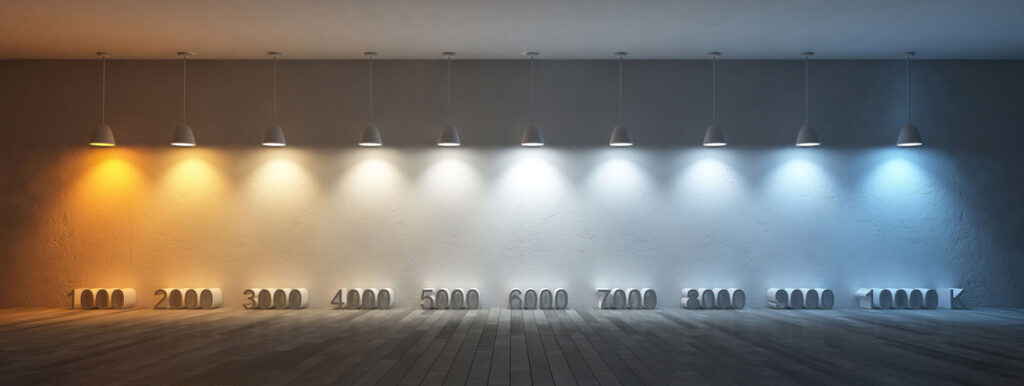
Artificial intelligence (AI) and data analytics are beginning to influence the painting industry. AI-powered tools are helping professionals predict trends, optimize workflows, and even automate certain aspects of the painting process. For instance, AI can analyze a space and recommend color schemes based on lighting, dimensions, and customer preferences.
At Ridge Painting, we stay informed about these advancements and explore ways to incorporate them into our services. While technology enhances efficiency, our skilled team ensures that every project maintains the personal touch and attention to detail our clients value.
Conclusion
The painting industry in 2025 is evolving in exciting ways, driven by innovations in materials, tools, and customer preferences. From sustainable practices and advanced finishes to bold colors and cutting-edge technology, the future of painting is all about enhancing beauty, functionality, and value.
At Ridge Painting, we’re proud to lead the way in embracing these trends and delivering exceptional results. Whether you’re looking to refresh your home or transform a commercial space, our team is here to make your vision a reality. Contact us today to learn how we can bring your project to life. Visit ridgepaintingcompany.com for more information and to schedule a consultation.
Let’s make 2025 your most colorful year yet!