It may be tempting to pull out the buckets of paint and start transforming your walls immediately. However, taking shortcuts with prep work will only cost you a lot of time, money and frustration. In fact, prep work that is incomplete or done haphazardly is a sure way of failing at the makeover pictured in your plans. According to Lowe’s Hardware Store, the first step and the Key step in painting is prep! It is essential to get excellent results and to evade issues while painting.
Prepping your walls for new paint can be done with just little extra time and effort. There are a few necessary steps that hold the key to the ideal renovation you imagined.
Clear the Working Area
Remove all of the furniture out of the room. For items that cannot be moved, make sure to place a tarp over all your things to avoid splattering the wood or upholstery with paint. As well, avoid putting the furniture in the hallway or where they could quickly get damaged. You may even want to consider renting a storage unit until all the paint is applied and is dry. Remember, be professional in your work. The homeowners can always look on you to see how the work is coming along, especially when they aren’t home.
Protect the Floors
It is essential to cover the hardwood floors or carpet before you begin working. Don’t be cheap and use newspaper. Invest in professional drop cloths that are durable. A cut-rate tarp easily rips and tears, which will undoubtedly expose areas on the floor.
Cover all Fixtures
Make sure to cover all fixtures such as plug-in covers. Also, cover sensors and make sure alarms are turned off. Otherwise, the alarm could easily be damaged or set off when you least expect it. Other items that need to be covered are window sills, baseboards (if you plan on a different color or they are wood), doors, brick, the phone jack and other items you want to protect.
There are various professional tapes you can use for covering fixtures. Ideally, you should get the blue or green painter’s tape. Professional painters tape will save you a lot of time when you need to remove it. Other tapes rip and tear when you try to remove them.
Wall Hangings Need to Come Down
Always take wall hangings down such as pictures or clocks. Never paint on the wall hangings. Not only does it make a job look very tacky, but
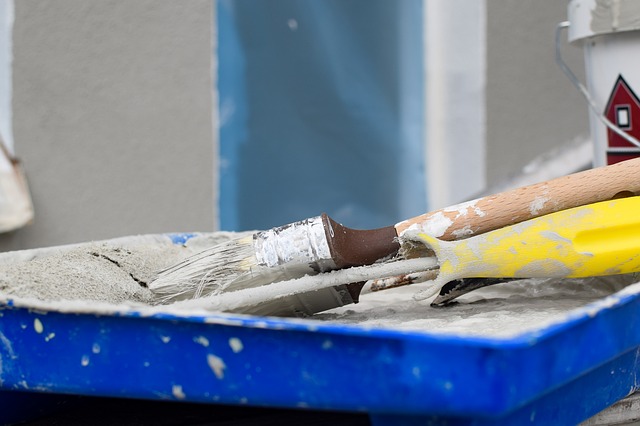
Prepare the Walls
Make sure to clean the walls before you paint them. Cleaning the walls will prevent dirt and grime from actually bleeding through the new paint. Also, you need to prep the walls by making sure all holes are filled such as nail holes, hairline cracks or small dents.
Rendering to Home Guides, you can use spackle or traditional joint compound depending on the size of the hole. Make sure to allow the spackle to dry before applying paint. Typically, spackle or joint compound dries within 24 hours. Also, before you paint make sure to sand the area that you spackled. It needs to be smooth.