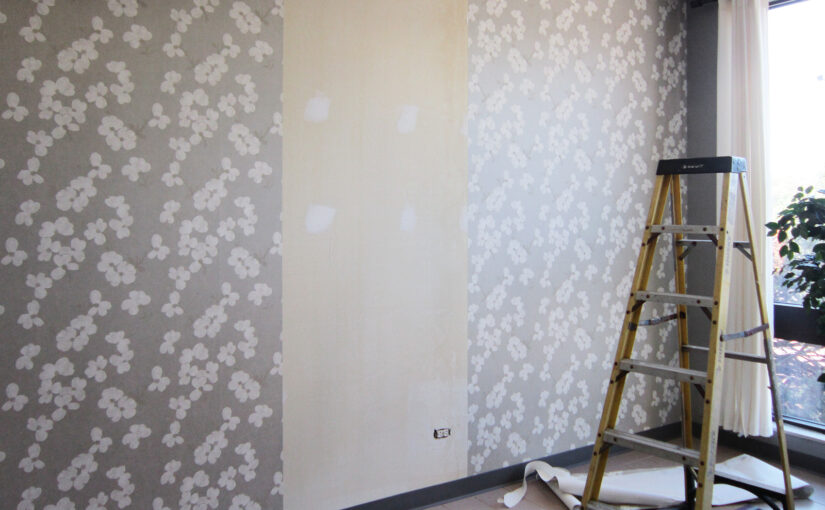
Removing wallpaper from the walls of your home can be a daunting task, yet with the right tools and preparation, it can be managed efficiently. The process doesn’t just end with the removal; preparing the walls for primer is equally important to ensure a smooth, flawless finish for whatever comes next. This article will guide you through the essential tools and steps for both removing wallpaper and preparing your walls for primer.
Tools for Wallpaper Removal
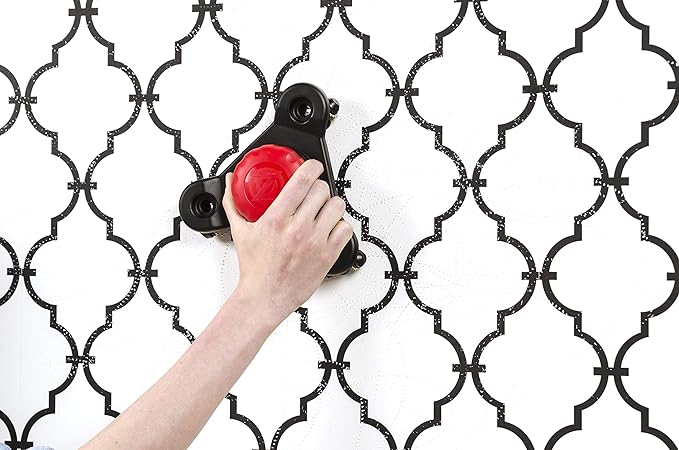
1. Scoring Tool: A scoring tool punctures the wallpaper without damaging the walls underneath. This allows the wallpaper removal solution to penetrate through the wallpaper layers.
2. Wallpaper Removal Solution: You can either purchase a commercial wallpaper remover like DIF, or make a DIY solution with hot water and fabric softener or vinegar. The solution softens the adhesive for easier removal.
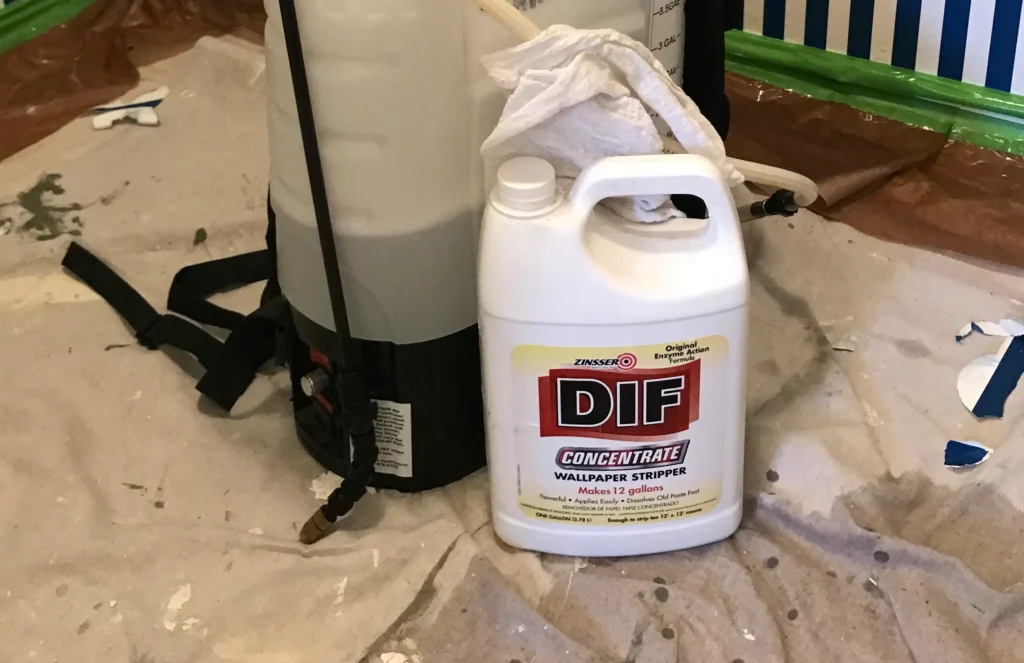
3. Spray Bottle or Pump Sprayer: For applying the wallpaper removal solution. A spray bottle works for small areas, while a pump sprayer is better for larger spaces.
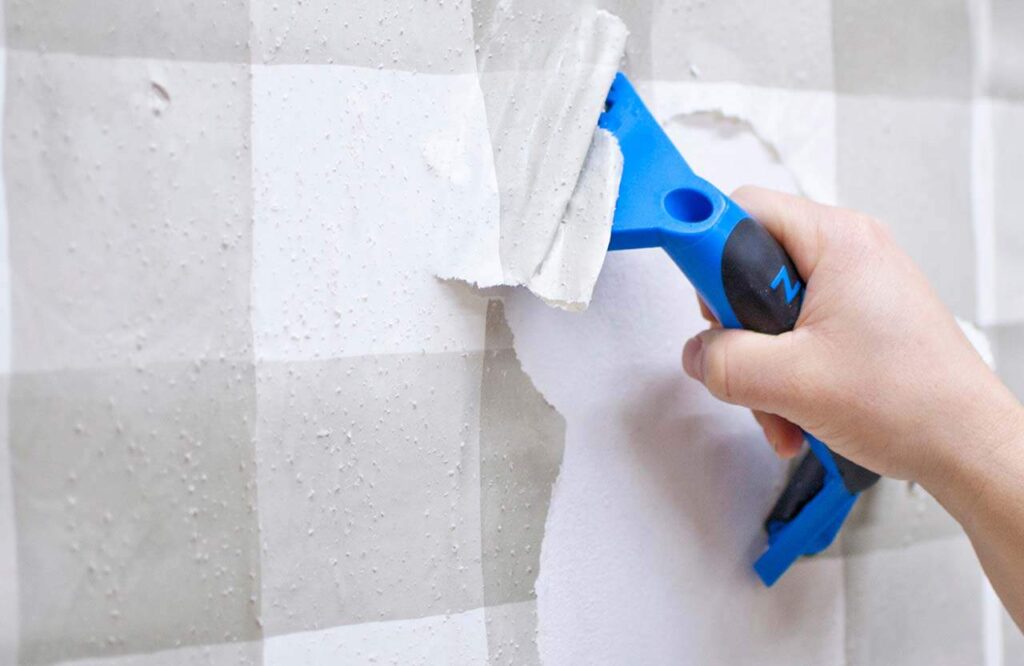
4. Putty Knife or Wallpaper Scraper: These tools are used to gently scrape off the wallpaper after the adhesive has been softened. A putty knife with a flexible blade is less likely to gouge the wall. Wallpaper scraping tools make removal much quicker.
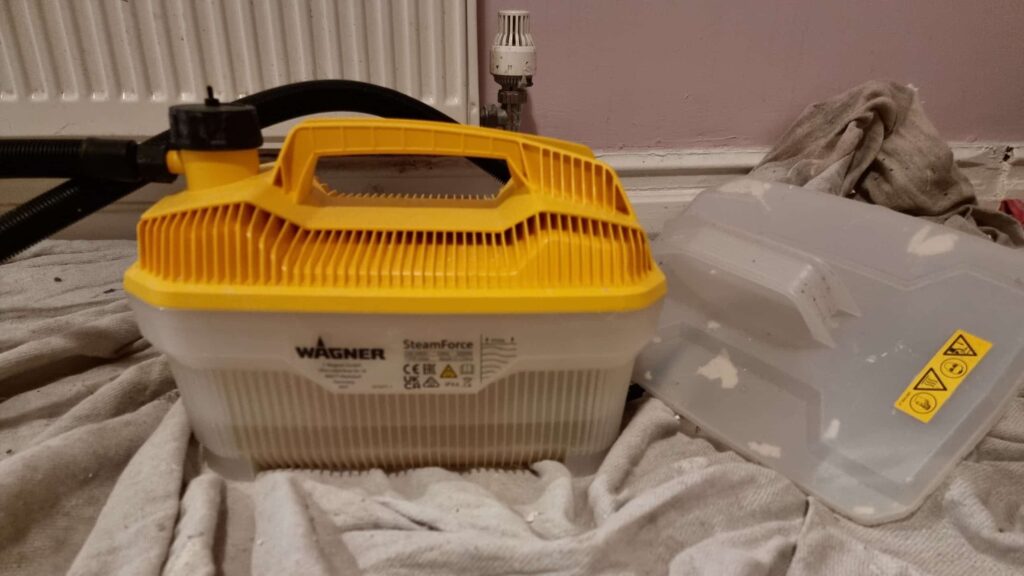
5. Steamer: A wallpaper steamer is an alternative to chemical removers, especially useful for removing multiple layers of wallpaper or wallpaper that’s been painted over. It uses hot steam to loosen the adhesive.
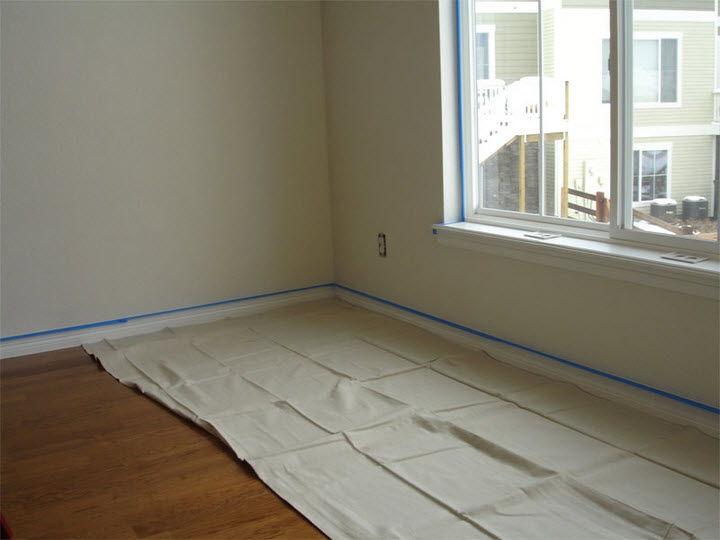
6. Drop Cloths: Protect your floors and furniture from drips and debris with drop cloths.
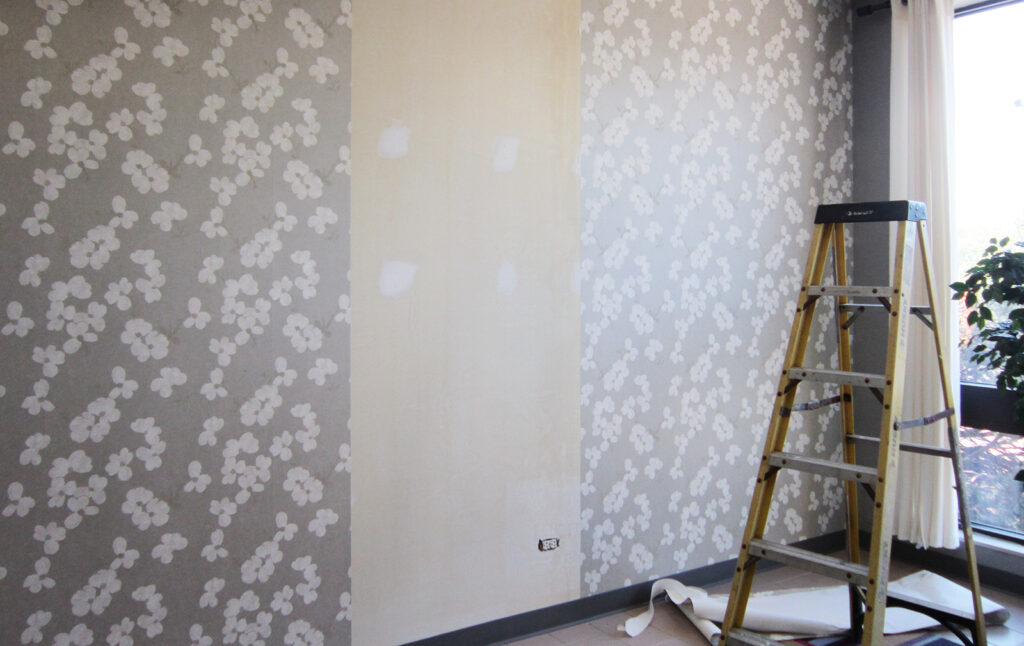
7. Ladder: Use a step ladder or ladder to reach the upper portions of your walls safely.
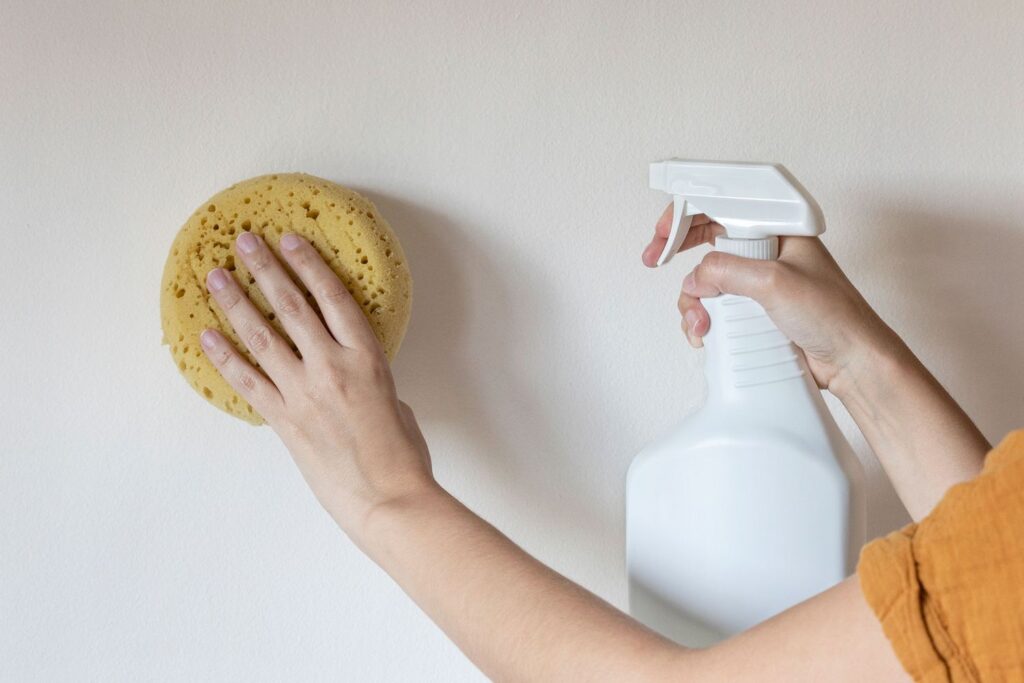
8. Bucket and Sponge: Use a bucket and sponge for washing the walls with clean water after the wallpaper has been removed.

Tools for Wall Preparation
1. Sandpaper or Sanding Block: Once the wallpaper is removed, you may find imperfections on the walls that need smoothing. Use a fine-grit sandpaper or sanding block to gently smooth out the surface.
2. Joint Compound: If there are any holes, dents, or gouges, use a joint compound to fill them in. Ensure it’s perfectly smooth and flush with the wall surface.
3. Putty Knife: A putty knife will help you apply and smooth out the joint compound.
4. Primer-Sealer: Before painting, apply a primer-sealer to the wall. This helps cover any adhesive residue and ensures that your paint adheres properly and looks even.
5. Tack Cloth or Damp Cloth: After sanding, use a tack cloth or a slightly damp cloth to remove all dust from the walls before applying primer.
6. Painter’s Tape: Use painter’s tape to protect trim, ceilings, and anything else you don’t want to get primer on.
Process Overview
Removing Wallpaper:
- Prepare the Room: Move furniture away from the walls and lay down drop cloths. It’s also a good idea to tape off outlets and switches.
- Score the Wallpaper: Gently run the scoring tool over the wallpaper. Be careful not to press too hard to avoid damaging the walls.
- Apply the Removal Solution: Use the spray bottle or pump sprayer to saturate the wallpaper with the removal solution. Let it sit for the recommended time.
- Scrape Away the Wallpaper: Start at a corner or edge and gently scrape the wallpaper away with your putty knife or scraper. If you encounter resistance, apply more solution and let it soak in.
- Steam Difficult Areas: If the wallpaper is particularly stubborn, use a steamer to loosen the adhesive.
- Clean the Walls: Once all the wallpaper is removed, wash the walls with a sponge and clean water to remove any adhesive residue.
Preparing Walls for Primer:
- Inspect and Repair: Look for any damage or imperfections in the wall. Fill them with joint compound, let dry, and then sand smooth.
- Sand the Walls: Lightly sand the entire wall surface to ensure it’s smooth and free of any adhesive residue.
- Clean the Walls: Use a tack cloth or damp cloth to remove all dust from the walls.
- Apply Primer-Sealer: Once the walls are clean and dry, apply a coat of primer-sealer to ensure a smooth base for painting.
- Final Touches: After the primer has dried, inspect the walls again for any imperfections. If necessary, lightly sand again before proceeding with your interior painting.
Conclusion
Removing wallpaper and preparing your walls for primer requires patience, the right tools, and a methodical approach. By following the steps outlined above and using the recommended tools, you can ensure a smooth and successful transition from old wallpaper to beautifully prepared walls ready for a fresh coat of paint. The key is to work carefully and not rush the process, ensuring that the final result is one you can be proud of.