How to Properly Paint a Ceiling
While many people choose to hire commercial painters like us to effectively tackle the job of painting their ceiling, others choose to handle it themselves. If you are one of those people who like to do it on your own, or if you are a commercial painter yourself looking for helpful advice, you’ve come to the right place to gain insightful tips and tricks for painting your ceiling quickly and accurately.
Painting your ceiling can be a very awkward, messy, and difficult process because of the angle your ceiling is at. Painting over your head can strain your body and can be very uncomfortable to handle. There is also the common issue of paint dripping off of the ceiling and on to your floor, objects in your room, or even you. Here are a few ways that will aid you in your ceiling painting process, and to help it go as smoothly as possible.
Prep Your Room for Inevitable Dripping
Even though some paint will always drip from your ceiling while you are painting it, there are precautions you can take that can lessen the amount significantly. It is best to move as much furniture out of the room as possible, and if a piece is not able to be taken out of the room, be sure to cover it completely with a tarp. Put tarps or drop cloths on your floor as well to protect it from unruly drips.
Protect your trims, ceiling fixtures for fans and lights, and walls of different colors from getting the paint from the ceiling smeared on them by lining their edges with painter’s tape. This is a crucial step, to ensure that you do not have to repaint the edges of these particular structures once your ceiling is complete.
Fix Ceiling Flaws Before Painting
Many different situations can leave stains on your ceilings, such as pipe leaks, large spills on the floor above, and overflowing bathtubs and sinks. It is best to use a stain-blocking primer to cover those stains up before you paint your ceiling. You can buy spray cans or normal paint buckets of the stain-blocking primer, based off of your preference.
Other flaws that you may encounter on your ceilings, such as chunks of paint or bumps within the paint, should be sanded down before painting. It is most beneficial to use drywall sanding paper to increase the bonding of the paint, and to smooth it out well. Make sure to pat your ceiling down with a damp cloth or sponge after sanding to remove all residue and dust.
Use a Quality Paint Roller
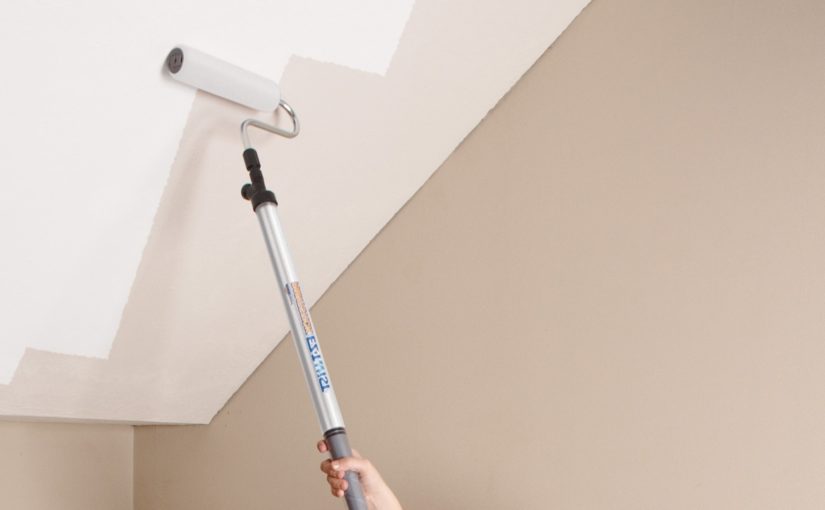
Paint rollers are the most beneficial tool to use when painting a ceiling, as they are the most accurate and get the job done quickly. Utilizing paint rollers will also lead to less splatter or dripping than using a paint sprayer or paint brush. Be sure that you have a lightweight roller cage, so that it is easier to hold and you are not putting as much strain on your back and arms.
Divide the Ceiling Into Small Grids
Not physically, but mentally. Painting your ceiling by large areas at a time makes your life a lot more difficult, because you can easily lose track of where you painted. This results in some areas that have too much paint, and others that don’t have enough. Visualize small sections of your ceiling, such as 3 feet by 3 feet squares, and paint from one section to the next.
To avoid having roller marks on your ceiling, it is best to overlap fresh paint on the edges of the new section with the old section. This allows both sections to blend in seamlessly together, and ensures the paint on the ceiling is evenly spread.
Use the Roller the Right Way
When you are rolling the paint on your ceiling, be sure to roll it slowly toward you, and apply the same amount of pressure with each movement that you make. This is crucial to ensure that your paint is applied evenly and smoothly. Roll in both directions as well, to spread the paint out equally. As stated before, also make sure that you are overlapping the edges of the newly painted section with the section you last painted, so that you do not have roller marks once the paint dries.