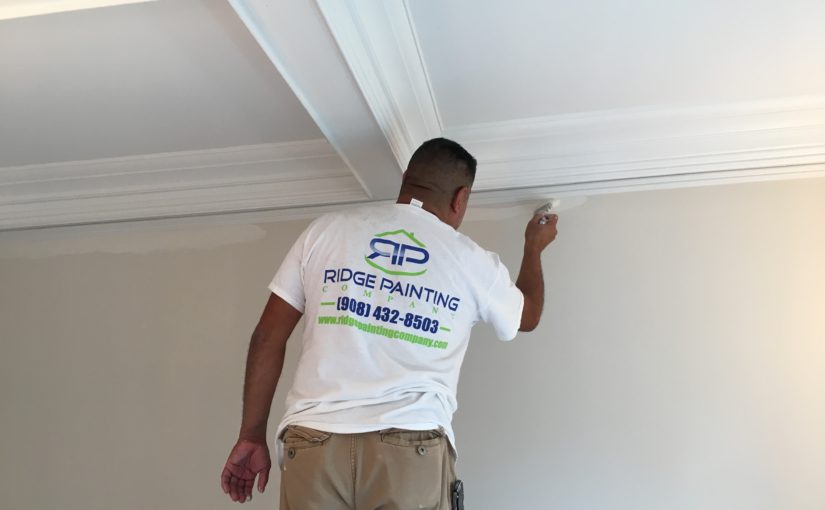
Interior painting can often be a difficult process, and might take much procrastination before there is any progress with completing the task. You may be simply freshening up your walls, or adding a whole new pop of color to your room, either way bringing your space back to life. Some people paint their rooms and walls on their own, while others hire residential and commercial painters to get the job done correctly and efficiently.
Whether or not you tackle interior painting yourself or hire painting experts, the most crucial part of the painting process is the preparation. Proper preparation can even be as important as the actual act of painting. Here are some essential steps to get your room ready for that perfect paint job.
Plan It Out
Planning out what you will be painting and how you will be painting it is truly the first step in a successful painting process. Once you decide on your wall colors, decide if you are also going to be painting your ceiling, doors, or trim. If you are going to paint any of these three in addition to your walls, it is important to paint those before your walls to receive better results.
After these decisions are made and the correct paint colors and amounts are purchased, make a list of other materials and tools you may need to complete the job if you are doing the painting yourself. Rollers, brushes, painter’s tape for borders, and plastic tarp for floors are helpful and common items for interior painting. You will also need to decide if your walls need a primer, or if they are ready to paint as is.
Clean The Walls
After all of the planning is completed, it is time to prep your walls for painting. It is crucial that your walls are clean and free of dirt, grease, and dust, so the new paint job looks as smooth and sleek as possible. Gently wipe your walls with a damp sponge or towel with a little amount of soap, and “rinse” them afterward with just a small amount of water on the sponge and no soap. Make sure that there is no soap left on the walls after cleaning, and that the walls are completely dry before painting.
If you notice mold on any of your walls, it is important to take action promptly, and before your new paint job. Apply an anti-mold solution to any section of your walls that contain mold. It is also a good idea to purchase a special sealer to put on your walls, such as anti-damp paint, which will help lessen the amount of mold that will grow in the future.
Protect Non-Painted Areas
There are many surfaces that you won’t want paint on, so it is important to cover them up to avoid this from happening. Cover your floors and furniture that can not be removed from the room with a plastic tarp or mat. Remove outlet covers, light switches, curtain rods, door knobs, and light fixtures. If you are not comfortable or experienced with cutting in, you can tape up your baseboards and door moldings, preferably with blue painter’s tape so that there is a clear distinction between the paint colors of your walls and your baseboards or door moldings.
Repair Damaged Areas On Walls
It is important to ensure that your walls are as smooth and blemish-free as possible before you start painting. Remove all nails, thumb tacks, screws, and peeling paint. You can use sandpaper or a paint scraper to take off any additional imperfections on your walls, and to fully smooth them out. Fill tiny holes or dents with quick-drying spackle paste, and patch up any larger holes or dents with a drywall compound or self-adhesive patching material. Use sandpaper or a paint scraper on chipping, peeling, or cracked paint, and be sure to also sandpaper any areas that you filled or patched up once they are completely dry as well.
After all imperfections are repaired, paint over your current wall color with a paint primer if necessary. The primer can help to seal up the areas where you used spackle paste or drywall to patch up holes or dents. This generates a surface that the new paint can stick to, creating an even and leveled façade. If you do not want to cover your entire walls with primer, at least ensure that you are putting paint primer over the areas that you spackled or patched up. Not doing so can result in shiny spots over those areas once the paint color dries.
By following these simple steps, your interior walls will be fully prepared for that perfect paint job you’ve been dreaming of!

